
Original image
step 1 of 22
The Start of the head I used the pen tool to chop out a portion of the area the feet were on and used it to start.
Duplicate the areas and merge together to make the head
Duplicate the areas and merge together to make the head

step 2 of 22
Take the shiny part for the face then merge. Then you do some dodge burn and liquefy
and duplicate the other area for the jacket area
and duplicate the other area for the jacket area

step 3 of 22
Next I used the eyes from the upstart.jpg from morguefile.com for the eyes and then to make the nose I used the burn and dodge tools as well as a bit of smudging

- : source
step 4 of 22
Next for the mouth I added in a rectangle type of shape then used the warp tool to form the mouth area and again merged down and used the burn and dodge tools and blended in a bit with some clone and healing tools

step 5 of 22
some more liquefy and burning of the cheek areas and chin areas as well

step 6 of 22
chopped out a portion of the abdomen area for the bottoms and again with some wrap and liquefy and added it on to the jacket area

step 7 of 22
Now I chopped out another shiny part again and then again used the liquefy tool to form a set of feet while also masking and erasing areas with a low opacity to get a round edge on the feet areas.

step 8 of 22
foot area chopped

step 9 of 22
liquefy the foot

step 10 of 22
Next add the leg and foot to your guy then use some clone tools and heal with some burn to adjust the leg areas.

step 11 of 22
Next I worked on the background area I used the france ocean view and matched the color of the shiny surface and then added contrast and brightness down a bit. Once I had a nice look and feel I then did a blended in the planets by adding them top and using the blending mode of lighten

step 12 of 22
Add them together and adjust sharpness and design with topaz

step 13 of 22
again chopped out the shiny area and used it to form a ship

step 14 of 22
some warping and smudging and burn and dodging and then adding at the very end I used the hue/saturation to give a reddish glow to the smoke area in back

step 15 of 22

step 16 of 22
here I used the blur mode and just selected the back area to give it a bit of a trail

step 17 of 22
some burn and dodging to start off and a desaturated layer on the bottom

step 18 of 22
wanted to do a bit of despeckling so I used topaz clean to clean it up a bit

step 19 of 22
invert hue/saturation area and then color it in to give a bit of color to the back of the ship

step 20 of 22
more burn and blend with some dodge in

step 21 of 22
add the ship to the background area

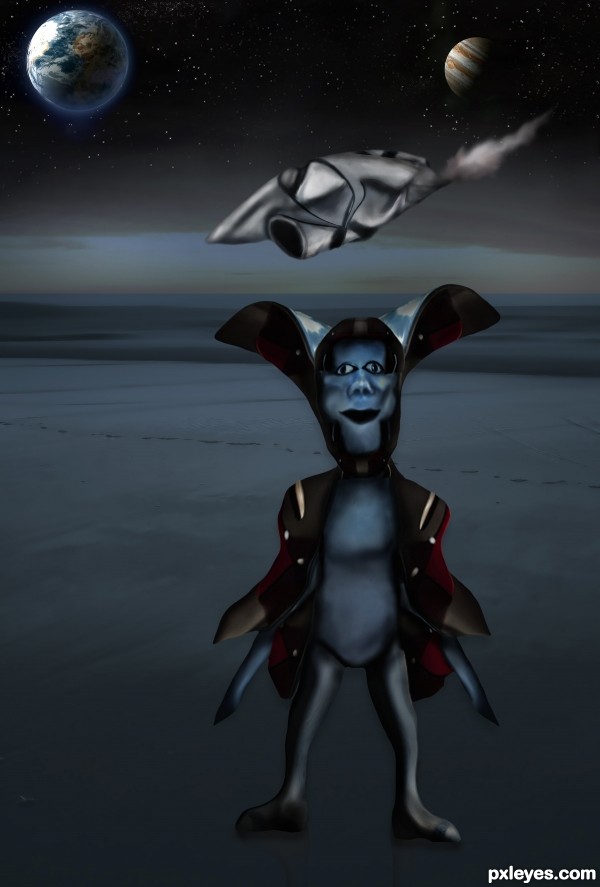
step 22 of 22
Add in your Odd World being to the front burn and blend a bit more and give a ever so slight light shadowing under his feet and your done :)

Final result
Pxleyes
Photography and photoshop contests
We are a community of people with
a passion for photography, graphics and art in general.
Every day new photoshop
and photography contests are posted to compete in. We also have one weekly drawing contest
and one weekly 3D contest!
Participation is 100% free!
Just
register and get
started!
Good luck!
Follow us:


© 2015 Pxleyes.com. All rights reserved.