A Work in Progress: there is hope


This guide was made for entry:
there is hope
In Contest:
pandoras box


step 1 of 8

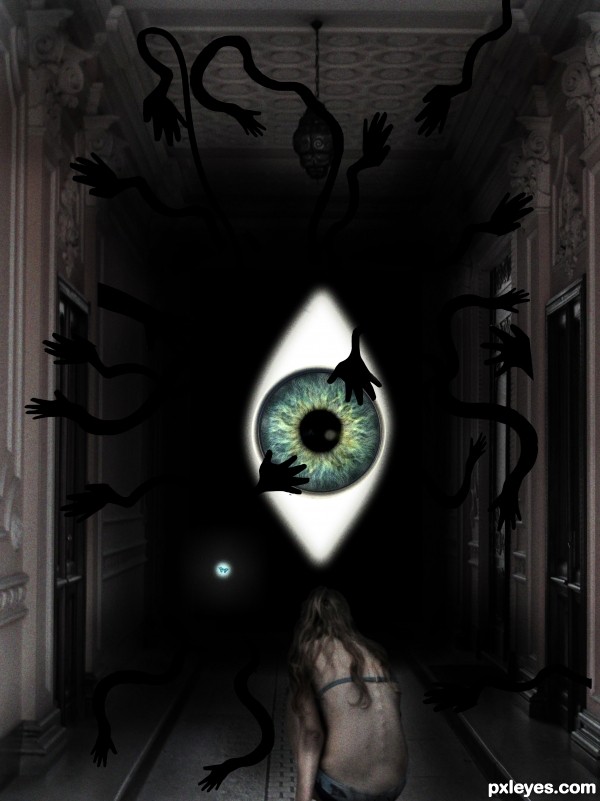
crop the girl on the picture.
i used extract to crop it out.

then paste it on the house picture.

cut out the door since we will not need it on the project.

Creation of there is hope: Step 1
sources used for this step:

step 2 of 8

fill the cut out door with black, and using gaussian blur to make the effect of the shadow crawling forward. (Filter> gaussian blur) adjust it according to your taste.

in the house layer, adjust the Hue and saturation of the picture to make it look paler.

adjust the color balance.

Creation of there is hope: Step 2

step 3 of 8

open the picture with hands.

using the channels palette crop the hands out. by adjusting the levels make it black.

after you crop the hands paste it in your project.

to make the shadow hands with boneless effect go to Filter>Liquify and do the magic.

cut each one out and paste while adjusting them that suits the project.

copy some of the hands and paste.

Creation of there is hope: Step 3
sources used for this step:

step 4 of 8

using a pen tool make a shape as shown in the picture.

Go to Filter>Gaussian blur to adjust to make it look like there is light inside.

Creation of there is hope: Step 4

step 5 of 8

open the eye image and crop it out of the picture using the wand tool.

we only need the pupil so using the eliptical marquee tool cut the pupil out and paste it in the middle of the shape that we made in step 4.

Creation of there is hope: Step 5
sources used for this step:

step 6 of 8

using soft brush with little opacity paint more shadow to make the project darker.

adjust the color.

Creation of there is hope: Step 6

step 7 of 8

open the butterfly image and crop it out. paste it on the project.

transform to make it smaller.

using the color balance adjustment, adjust the color,

using a brush tool, make a dot a little bigger than the butterfly image.
go to filter> gausian blur and adjust.

adjust the image and and glowing effects.

do necessary color balance.

Creation of there is hope: Step 7
sources used for this step:

step 8 of 8

open the butterfly image and crop it out. paste it on the project.

transform to make it smaller.

using the color balance adjustment, adjust the color,

using a brush tool, make a dot a little bigger than the butterfly image.
go to filter> gausian blur and adjust.

adjust the image and and glowing effects.

do necessary color balance.

Creation of there is hope: Step 7

Final result

Creation of there is hope: Final Result

LOGIN or REGISTER FOR FREE
to rate this guide and create your own guides.