
Original image
step 1 of 10
First take a few parts out of the bales. Flip and rotate until you get something like this image. Select some "holes" on the sides and delete them.

step 2 of 10
Rotate and warp a few parts to get a more "round" nest. Also delete some "more holes".

step 3 of 10
Delete some more "holes" and use dogde/burn to make it more realistic.

step 4 of 10
Did some more dodging and burning.

step 5 of 10
Create the egg shape with the pen tool or whatever you like.
Darken the lower and right part of the egg.
Darken the lower and right part of the egg.

step 6 of 10
Darkened a few more spots to make it more realistic.

step 7 of 10
Make a selection of the egg create a new layer and fill it with a colour of the nest. Set the layer to colour.

step 8 of 10
Copy the front part of the nest and lay it over the egg. Cut out "holes" to make it realistic.

step 9 of 10
Copy the layer of the new nest part that's covering the egg. Place it under the layer you just copied.
Use the layer effects window to give a colour overlay "black". Set it to multiply and 30% transparancy.
Use the layer effects window to give a colour overlay "black". Set it to multiply and 30% transparancy.

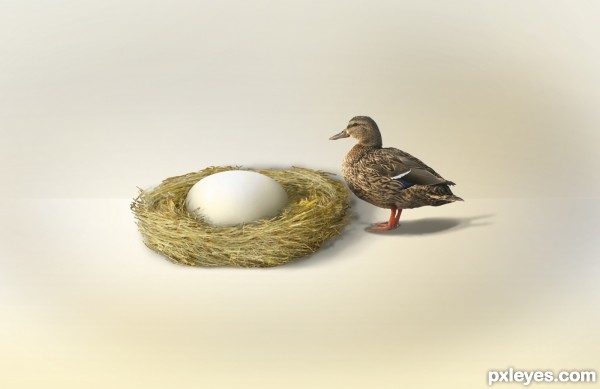
step 10 of 10
Insert the duck. Copy the nest and duck and create the shadows the same way you made the other shadow. Gaussian blur the layers.
I made the background with the shape of the egg, I made it a lot bigger and blurred I brushed the rest of the colours.
I made the background with the shape of the egg, I made it a lot bigger and blurred I brushed the rest of the colours.

Final result
Pxleyes
Photography and photoshop contests
We are a community of people with
a passion for photography, graphics and art in general.
Every day new photoshop
and photography contests are posted to compete in. We also have one weekly drawing contest
and one weekly 3D contest!
Participation is 100% free!
Just
register and get
started!
Good luck!
Follow us:


© 2015 Pxleyes.com. All rights reserved.