A Work in Progress: Eyecon


This guide was made for entry:
Eyecon
In Contest:
icon designs


step 1 of 24

Create the black background.
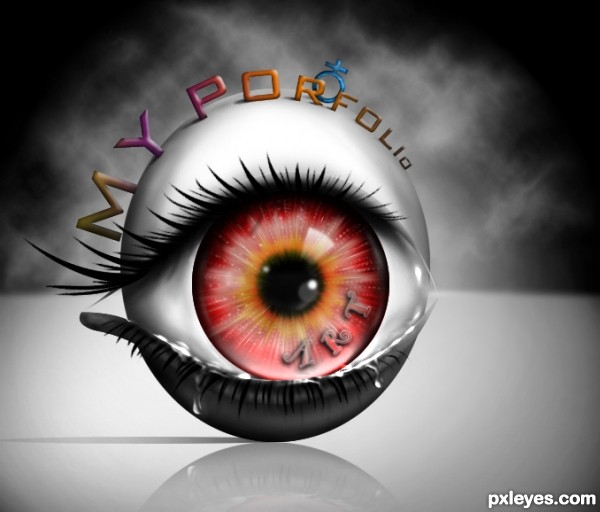
Create a red circular shape.
Create a smaller of the red one on the top layer (40% size of the first one) with black color.

Creation of Eyecon: Step 1

step 2 of 24

Make the light on the background by gradient tool (white gradient), then divide the background by marquee tool, the lower halve is reduced in brightness, then distort the shape.
Use the inner shadow blending option for the large circle.
Draw the shape of the eyelash by pen tool

Creation of Eyecon: Step 2

step 3 of 24

Creation of Eyecon: Step 3

step 4 of 24

Rasterize the large circle, make more shadow on the top. Make the white reflection by pen tool on the upper layer

Creation of Eyecon: Step 4

step 5 of 24

Draw the shape like in the photo on the top layer

Creation of Eyecon: Step 5

step 6 of 24

Use the action tool, duplicate the drawn layer, choose the center of the eye as the center of the layer, then rotate 10 degree. Repeat until the eye is fulled

Creation of Eyecon: Step 6

step 7 of 24

Merge all of the repeated layers, choose the overlay blending mode

Creation of Eyecon: Step 7

step 8 of 24

Create some white stroke (radial direction) by pen, then stroke by stimulated brush.

Creation of Eyecon: Step 8

step 9 of 24

Duplicated the layer of repeated shapes, Gaussian blur, then use the smudge tool with high strength (80-90%) and various brush sizes, draw from the center to the outside (radial direction)

Creation of Eyecon: Step 9

step 10 of 24

Use the same method but change the color (hue/saturation setting) and make the smaller size of the "ring", use smudge tool with small size (1-2) to make the radial stroke near the center of the eye

Creation of Eyecon: Step 10

step 11 of 24

Use smudge tool, draw by the inverse direction on the first layer (the one used action tool)

Creation of Eyecon: Step 11

step 12 of 24

Use the scatter brush with various size (white) to make the scattered stroke (radial direction) to glow some spots on the eye.

Creation of Eyecon: Step 12

step 13 of 24

Creation of Eyecon: Step 13

step 14 of 24

make the bottom of the eye glowing by making the shape with pen tool, then fill with white color

Creation of Eyecon: Step 14

step 15 of 24

Use eraser to erase the newly created shape from the center of the eye to the outside (gradually)

Creation of Eyecon: Step 15

step 16 of 24

Use white brush to draw some reflection on the top layer

Creation of Eyecon: Step 16

step 17 of 24

Use pen tool to draw the white part of the eye (I don't know how to call) and the shape of the eyelash

Creation of Eyecon: Step 17

step 18 of 24

Use burn tool to make the shadow and pen (stroked by stimulate brush tool) to draw the hair

Creation of Eyecon: Step 18

step 19 of 24

Use the eraser to erase the hair in the eye, just keep the part on the eyelash

Creation of Eyecon: Step 19

step 20 of 24

Play with burn and dodge tools

Creation of Eyecon: Step 20

step 21 of 24

Add the word "My porfolio": make the path with similar shape as the eye, then select Text tool, put the word on the path, they will run along with the path

Creation of Eyecon: Step 21

step 22 of 24

Distort the text path a bit to make the words standing on the eye. Make the teardrop by brush tool

Creation of Eyecon: Step 22

step 23 of 24

Close up...

Creation of Eyecon: Step 23

step 24 of 24

The upper part of the background was made by different cloud filter (4 times), then blend with the bottom layer by soft light blending option. Duplicate the background layer sometimes, then merge all layers, use dodge tool to make the area that the eye standing on brighter. Make the reflection of the "eyecon" by duplicate the eyecon layer, flip, then erase gradually from the bottom.

Creation of Eyecon: Step 24

Final result

Creation of Eyecon: Final Result

LOGIN or REGISTER FOR FREE
to rate this guide and create your own guides.

Votes


uservoted
jamespaul
Drivenslush
derdevil
Score:
10