
Original image
step 1 of 9
first of all the background of the daisy must be removed!

step 2 of 9
then copy the layer of the daisy and using the twirl filter distort it as desired

step 3 of 9
using the eyedropper tool select the yellow tone from the daisy and then make a new blank layer and using the paint bucket apply the selected color

step 4 of 9
make a new copy on top of the yellow layer and using the eye dropper tool select a white tone from the daisy again. then, go to custom shape tool and select the shape named "tile 2" and draw it on the new layer

step 5 of 9
after drawing the tile 2 shape go to filters->distort->twirl and apply it to the layer

step 6 of 9
now i hope i'll explain clearly this one..
add layer mask on the twirled daisy layer, then duplicate the twirled "tile 2" layer and drag to it the layer mask. right click and select apply layer mask and then apply the color burn blending option so that the twirl color inside the daisy changes. [if necessary change the layer's hue value]
add layer mask on the twirled daisy layer, then duplicate the twirled "tile 2" layer and drag to it the layer mask. right click and select apply layer mask and then apply the color burn blending option so that the twirl color inside the daisy changes. [if necessary change the layer's hue value]

step 7 of 9
duplicate the layer with the source daisy again and place it on top, applying the overlay blending option. also apply a slight twirl filter

step 8 of 9
now duplicate again the source daisy, transform it to get a bit smaller and then apply to it the twirl filter again in a way it can match the "tile 2" twirl

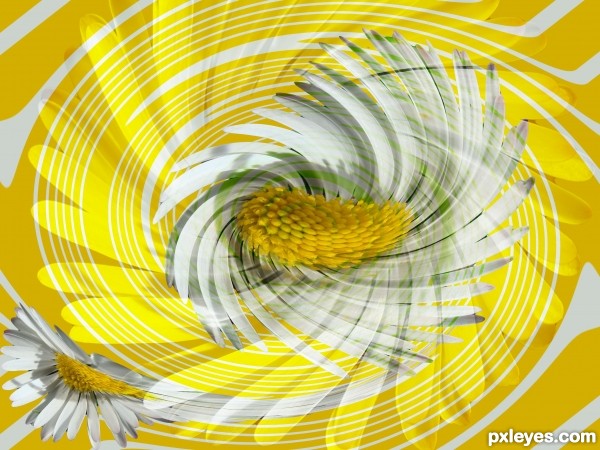
step 9 of 9
and after this i all layers are turned on [except from source image] the image is complete!

Final result
Pxleyes
Photography and photoshop contests
We are a community of people with
a passion for photography, graphics and art in general.
Every day new photoshop
and photography contests are posted to compete in. We also have one weekly drawing contest
and one weekly 3D contest!
Participation is 100% free!
Just
register and get
started!
Good luck!
Follow us:


© 2015 Pxleyes.com. All rights reserved.