
Original image
step 1 of 12
Start with a black BG, then add new layer. Using Rectangular Marquee tool, draw a rectangle, fill with white.

step 2 of 12
Alt-Ctrl-T, to select with copy option. Shift-drag copied image over, leaving a bit of space between images. Then reduce the width slightly, and press Enter.

step 3 of 12
Shift-Ctrl-Alt-T, duplicates the last image, and places it according to your spacing, with the reduction continuing progressively. Continue copying until your page is full. If you don't like the spacing, go back and repeat with various sizes and spacing until you like the effect.

step 4 of 12
Merge all image layers that you just copied into one (leave the BG on its own layer - you just want to copy the white bars). Ctrl-T to Transform, then select the Warp icon, and from the drop-down, select the Fish Warp.

step 5 of 12
Tweak your warp to your liking, the press Enter to accept the changes.

step 6 of 12
On a new layer above the last one, bring in an image of your choice. This will be clipped onto the white bars. Ctrl-T to transform, then scale, warp or add perspective to your liking.

step 7 of 12
Pressing Alt, hover your cursor between the 2 layers. It will change into a small double-circle.

step 8 of 12
Click once to clip the top picture onto the bottom one.

step 9 of 12
To add to depth, add a gradient layer on top of this, so that the image is slightly darker in the "background". Experiment with the look you want.

step 10 of 12
To add depth to the panels themselves, copy that layer BELOW itself, and color each panel gray. Different shades produce different depths.

step 11 of 12
Slide the "shadow" panels independently to produce a depth effect. Fill is as needed with paint brush.

step 12 of 12
Add carpeting, lights, etc, to make it your own. (Note, in the example here, two images were clipped onto the white panels, using the same technique as described)

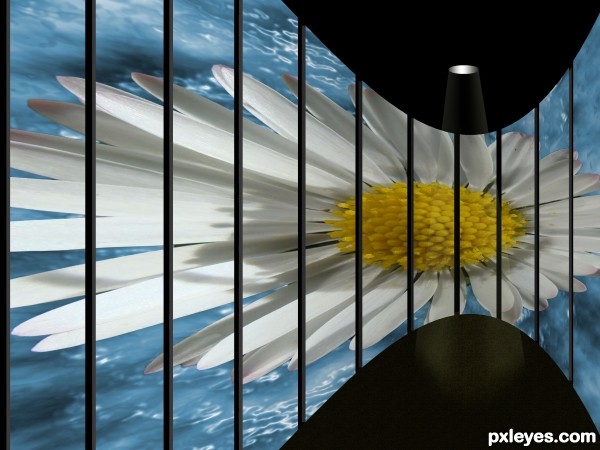
Final result
Pxleyes
Photography and photoshop contests
We are a community of people with
a passion for photography, graphics and art in general.
Every day new photoshop
and photography contests are posted to compete in. We also have one weekly drawing contest
and one weekly 3D contest!
Participation is 100% free!
Just
register and get
started!
Good luck!
Follow us:


© 2015 Pxleyes.com. All rights reserved.