
Original image
step 1 of 7
A new layer filled with radial gradient dark and light green.

step 2 of 7
I selectioned part of the thorns; copied and pasted.

step 3 of 7
Using warp tool, put some curves.

step 4 of 7
Following the reference image, I created the mane - a lot of copy and paste process! When I was done, I merged the layers.

step 5 of 7
I duplicated and resized the mane layer three times; one to give more volume to the mane, the other two for body (applied a bit of gaussian blur to give depth). With soft eraser removed unwanted parts.

step 6 of 7
Over those layers, I created a new one and filled with orange; changed layer blending to overlay, adjusted hue, saturation and lightness untill the color approximate to original.

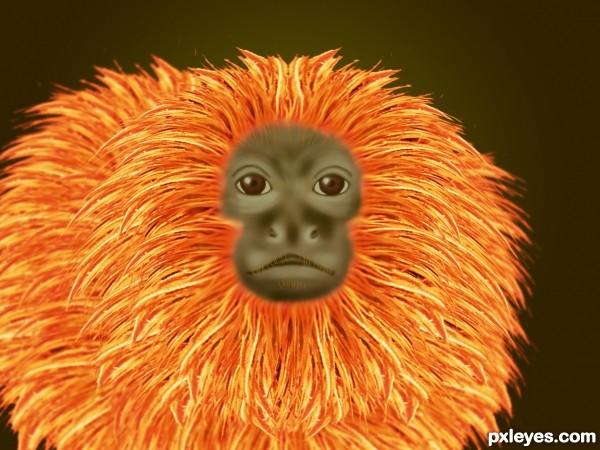
step 7 of 7
On the top of all layers, I drew a ellipse; picked up the face color of the reference image and filled the ellipse. Then using burn and dodge tools I drew the details of the face; with a soft eraser, I removed unwanted parts. Smudged the edge of mane.

Final result
Pxleyes
Photography and photoshop contests
We are a community of people with
a passion for photography, graphics and art in general.
Every day new photoshop
and photography contests are posted to compete in. We also have one weekly drawing contest
and one weekly 3D contest!
Participation is 100% free!
Just
register and get
started!
Good luck!
Follow us:


© 2015 Pxleyes.com. All rights reserved.