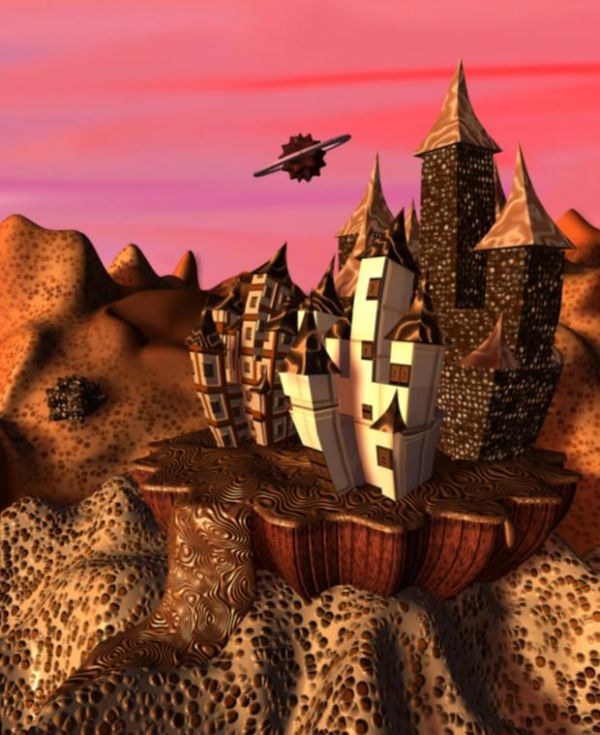
choco grnd was made using nurbs plane with 20 to 30 uv patches, and edit nurbs - sculpt geometry tool...
sky is a basic polygonal plane...
a circular curve was edit using contrl vertex , duplicated and scaled, then both curves were selected to choose surfaces - loft to get the choco bowl...
polygonal plane with smooth mesh was subjected to anim-create deformers - non linear - wave to get the liquid in bowl, another poly plane was sculpted for the over flow...
3 duplicated castles are the result for number of extrudes of basic cube, while the roof is basic pyramid...
It was then grouped and assigned with non linear deformers like flare, bend, squash sequentially...
celestial bodies are the nurbs sphere and torus, deformed by accessing ctrl vertex....