
Original image
step 1 of 9
start with a black background and put the graveyard image over it reducing the opacity of the graveyard to 15% and adjusting its brightness/contrast to -150/-50

- : source
step 2 of 9
add the man and reduce his opacity to 57%

step 3 of 9
duplicate the image of the man in a new layer then move it to the right a little. apply a filter-wave to it. then merge the two layer

step 4 of 9
using the dodge/burn:distort wave:edit/fade wave (you can use any method you prefer), make a lot of smoke and fill his face.

step 5 of 9
control+left click on the smoke layer to load selection to its luminosity. Select the original model layer and apply a layer mask on it with the selection. Hide the smoke layer once the layer mask is created.

step 6 of 9
create a new layer right below the man and above the graveyard layer. apply a cloud filter and delete most of the clouds leaving only those in the lower left corner, then set it to 'color dodge'.

step 7 of 9
get the skull and position it on the man's face. reduce opacity to 10%

- 1: source 1
step 8 of 9
change hue/saturation (clicking colorize) and make the color light green to have a ghastly effect.

step 9 of 9
added a hand on top of the background image and reduce it's opacity.

- 2: source 2
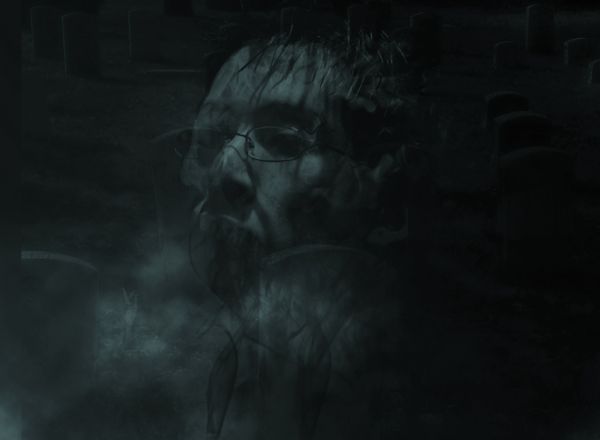
Final result
Pxleyes
Photography and photoshop contests
We are a community of people with
a passion for photography, graphics and art in general.
Every day new photoshop
and photography contests are posted to compete in. We also have one weekly drawing contest
and one weekly 3D contest!
Participation is 100% free!
Just
register and get
started!
Good luck!
Follow us:


© 2015 Pxleyes.com. All rights reserved.