
Original image
step 1 of 16
I cut out the signs using mask and made a copy, applying the msk to the copy and separating the signs via copy.

step 2 of 16
I used one of the signs to create a row, making copies of it and placing them side by side. Then I put the layers into a folder named "SIGNS 1".

step 3 of 16
I made three copies of the folder "SIGNS 1" to create more three rows.

step 4 of 16
Then I used one of the white signs.

step 5 of 16
I put everything into a folder named "ALL SIGNS" and made a copy of this folder. I converted it to smart object, flipped it vertically and work on perspective.

step 6 of 16
Using four copies of a white sign, I created a cross and put the layers into a folder named "SIGNS 5".

step 7 of 16
Then I made five copies copies of the folder "SIGNS 5" and turned the copies 15, 30, 45, 60 and 75 degress respectivelly. I put all those folders into a folder named "ALL SIGNS 5".

step 8 of 16
Then I created a white background and a blue gradient layer for the sky.

step 9 of 16
I created a new layer to paint a white circle to hide the inner lines of the "sun".

step 10 of 16
In two different layers I painted the white shine behind the "sun" and the yellow one in front of it.

step 11 of 16
Then I applied white gradient to the signs and overlay blending to it.

step 12 of 16
Then I placed the guitar man in a new layer and rasterized it.

step 13 of 16
I got rid og the background and made a copy of the image, applying the mask and reducing its size.

step 14 of 16
I created a new layer, Ctrl-clicked the small guitar man and filled the selection with black.

step 15 of 16
I created the guitar man's shadow.

step 16 of 16
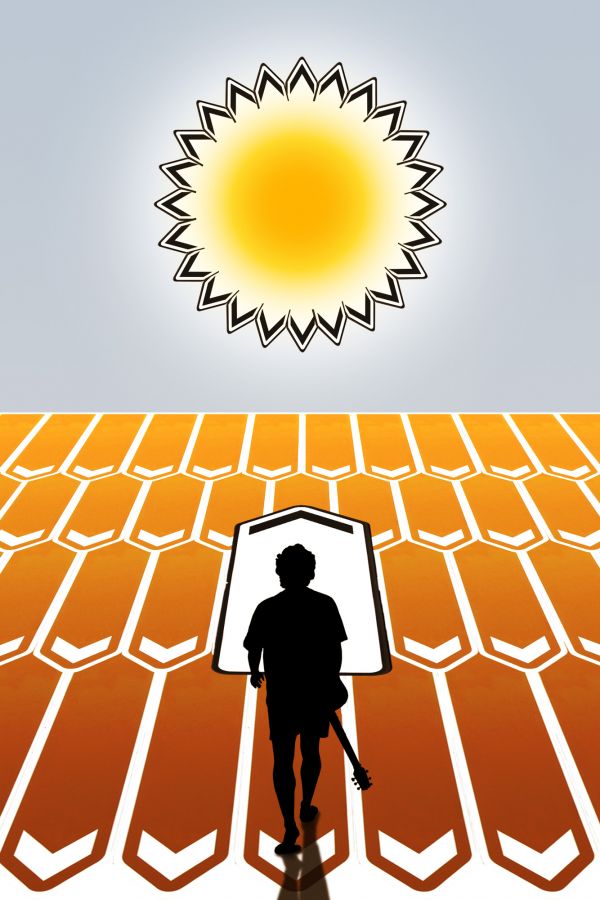
At the top I created a colour fill adjustment layer, applying overlay blending.

Final result
Pxleyes
Photography and photoshop contests
We are a community of people with
a passion for photography, graphics and art in general.
Every day new photoshop
and photography contests are posted to compete in. We also have one weekly drawing contest
and one weekly 3D contest!
Participation is 100% free!
Just
register and get
started!
Good luck!
Follow us:


© 2015 Pxleyes.com. All rights reserved.