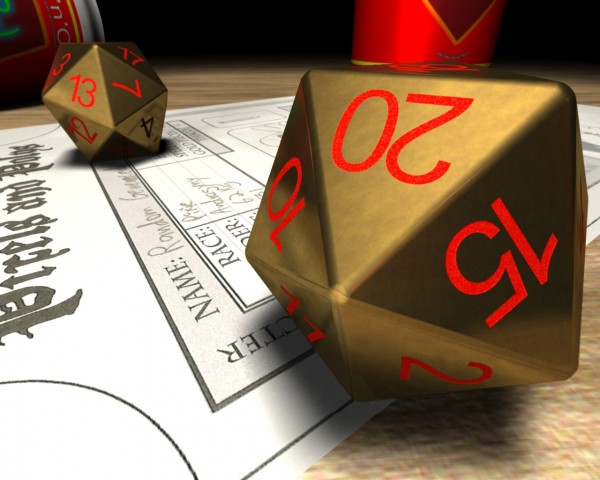
I had big problems making a icosahedron (20 equal triangles) for the D20. When I finally came up with one (after about 2 hours modeling and calculating), I found a built in plug in that made it in a click! :(
Anyway, I used rounder to auto bevel some smooth corners for the dice (since it was to be viewed in close up).
I then made some fonts and had to manually rotate and place them around the dice. This should usually not be a big problem, but because of the odd angles it was! I think it took about 2 hours. When finished setting up the fonts I solid drilled them into the dice and beveled them softly into the dice. I also had to clean up a lot of crossing polys making visual flaws.
The texturing was made by making a brass like surface (low diffuse, high specularity, low glossiness, medium reflection) and bumping it to make variations. Two procedurals were added to all channels, with various strength to enhance the effect and make dust and scratch.
The texturing of the numbers was made in a similar way, but with the main difference that I added crust (dots) on bump, and made a gradient on color, affected by bump (making those coloring uneven dots that usually becomes visible with closeups).