
Original image
step 1 of 3
Duplicated the background image. Selected the background image. Filter>Other>High Pass Filter. Set it to 250. This is where I got the extra contrast from.

step 2 of 3
Selected Color Ballance in Adjustments. Determined to make her not so blue, in Shadows I moved the cyan/red bar to +93. In Midtones I moved the yellow/blue bar to -54 and the cyan/red bar to +2. In Highlights, the cyan/red bar is +5 and the yellow/blue bar is +12.

step 3 of 3
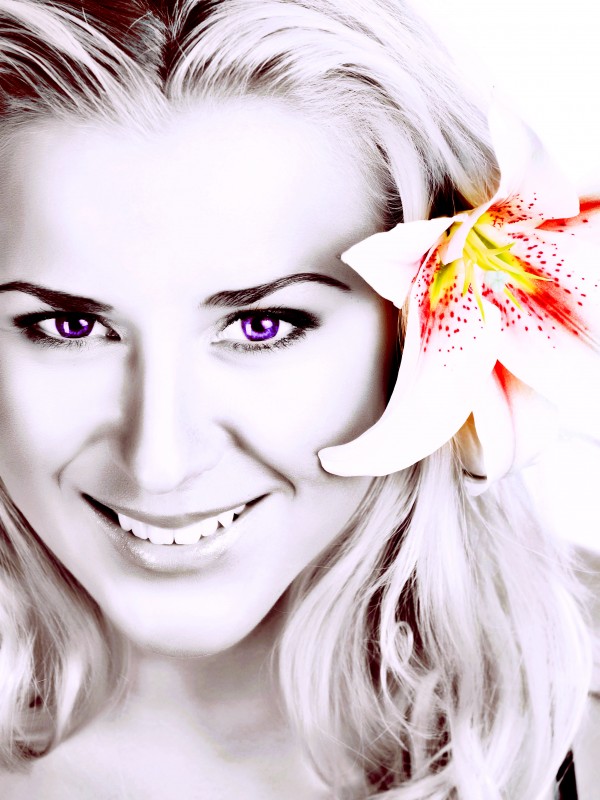
Added another layer above the Color Ballance Layer. For a more intense eye color, put this layer below the Color Ballance Layer. Used a small brush to color the entire iris of each eye a rich bluish purple and used Overlay to blend it.

Final result
Pxleyes
Photography and photoshop contests
We are a community of people with
a passion for photography, graphics and art in general.
Every day new photoshop
and photography contests are posted to compete in. We also have one weekly drawing contest
and one weekly 3D contest!
Participation is 100% free!
Just
register and get
started!
Good luck!
Follow us:


© 2015 Pxleyes.com. All rights reserved.