
Original image
step 1 of 13
Used the transform/warp too to get the shape right.

step 2 of 13

step 3 of 13
Darkened the image with levels.

step 4 of 13
Created the black background.

step 5 of 13
Used Hue/saturation to create green colour.

step 6 of 13
Used clouds filter.

step 7 of 13
Used warp tool to transform it in the direction of the end of the street.

step 8 of 13
Used the gradient tool to make the edges darker.

step 9 of 13
Then comes the ripper.

step 10 of 13
Created the shadow by duplicating ripper layer, using hue/saturation to make it black, flip it vertical and used the warp transform tool to get the direction right.

step 11 of 13
Created the lightsource.

step 12 of 13

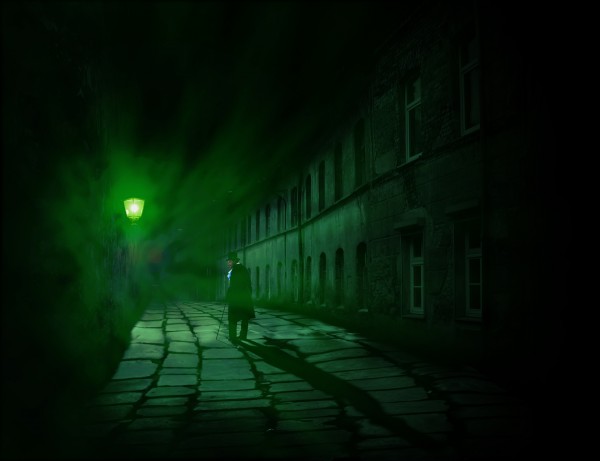
step 13 of 13
Blurred the shadow, burned some edges and made created the halo round the lightsource.

Final result
Pxleyes
Photography and photoshop contests
We are a community of people with
a passion for photography, graphics and art in general.
Every day new photoshop
and photography contests are posted to compete in. We also have one weekly drawing contest
and one weekly 3D contest!
Participation is 100% free!
Just
register and get
started!
Good luck!
Follow us:


© 2015 Pxleyes.com. All rights reserved.