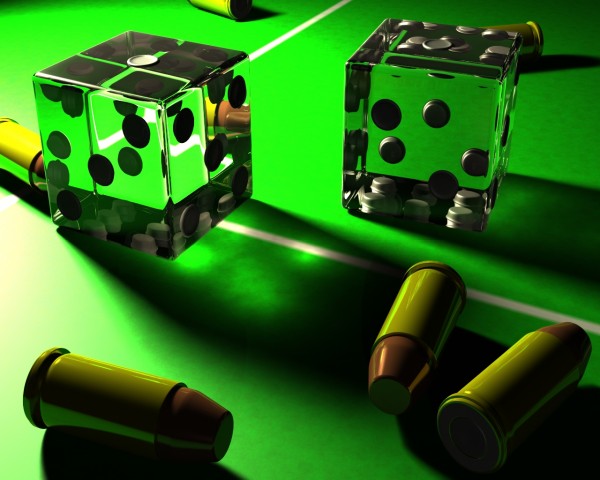
1. I made a simple square box, subdivided it and used the "Rounder" tool to get the corners smooth. I then cut out the places where the markings would to be fitted.
2. I made the markings by beveling the a circle in two ways to the shapes shown. To attach the markings I had to make triangular polys.
3. This was the one sided result. The layes was duplicated and flipped inwards (making it double sided) for the later upcoming texturing.
2. I made the markings by beveling the a circle in two ways to the shapes shown. To attach the markings I had to make triangular polys.
3. This was the one sided result. The layes was duplicated and flipped inwards (making it double sided) for the later upcoming texturing.


Hey, just to let ya know some of us do read the SBS's I really like the render with the red dice, would like to see a larger version...
(5 years and 3851 days ago)