A Work in Progress: Homo Erectus Alienus


This guide was made for entry:
Homo Erectus Alienus
In Contest:
free for all


step 1 of 4

The model is created the Sub Patch-way - starting out with a box, adjust the point, subdividing, adjusting the points, and so on.. not very easy to explain..

I've used the Spin Quad-function to spin many of the polys to get smooth surfaces or facial features.

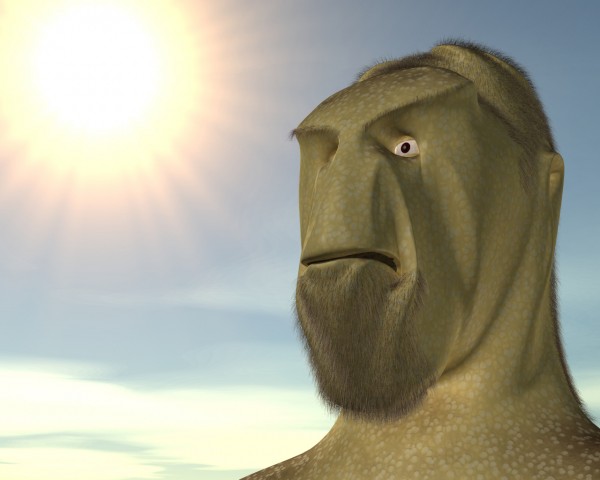
Odd and detailed areas like the nose, mouth and ears are extruded to add more polys to the area.

Creation of Homo Erectus Alienus: Step 1

step 2 of 4

The eyes are simply made by creating a ball and the contours of the eyelids by Solid Drilling a background curve and extrude it.

Creation of Homo Erectus Alienus: Step 2

step 3 of 4

The skin is textured with different procedurals and a gradient to make variation depending on the slope angle.

These texture layers are applied to Color, Diffuse, Specularity and Bump with small adjustments to make general details to the skin.

The hair is made by using the SasLite plug in several times, with slightly different values for variation.

The sky's generated with the Sky Tracer 2 plug in with a custom sun in the background.

Creation of Homo Erectus Alienus: Step 3

step 4 of 4

The scene was set up with my basic spotlight lighting formula (front 100%, back 50%, Left/right 25%, top 15%, bottom 7,5%) + the 100% sun.

For the final render I used Global Illumination and medium AA. It took about an hour to render.

Creation of Homo Erectus Alienus: Step 4

Final result

Creation of Homo Erectus Alienus: Final Result

LOGIN or REGISTER FOR FREE
to rate this guide and create your own guides.