
Original image
step 1 of 10
I used the clone tool al lot. I also used copy/paste on some areas and then blended them in.

step 2 of 10
I blend new grass on old grass to have some nice focused grass on foreground were the ape will sit.

step 3 of 10
This is our 'happy' main character. I roughly cut and pasted it and used the erased all the backgroud. I then used the smudge tool to bring back the hair that was erased with the background.

step 4 of 10
I copy the ape, use hue & saturation to make it black, transform it and use gaussian blur and opacity to make the shadow.

step 5 of 10
I selected the sign, transformed it to fit with the new composition.

step 6 of 10

step 7 of 10

step 8 of 10
Painted the pooh:-)

step 9 of 10
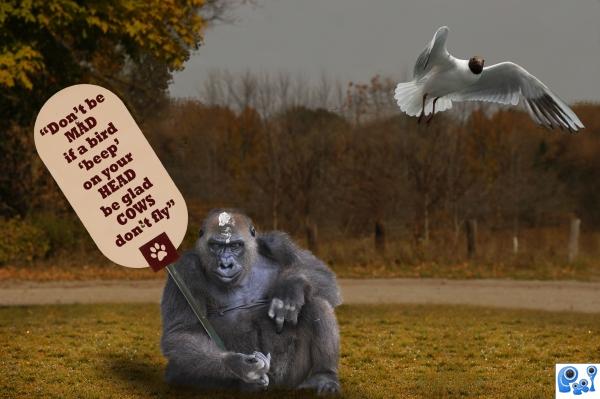
Made the txt, scaled and rotate to fit.

step 10 of 10
...And there goes our innocent looking birdie...

Final result
Pxleyes
Photography and photoshop contests
We are a community of people with
a passion for photography, graphics and art in general.
Every day new photoshop
and photography contests are posted to compete in. We also have one weekly drawing contest
and one weekly 3D contest!
Participation is 100% free!
Just
register and get
started!
Good luck!
Follow us:


© 2015 Pxleyes.com. All rights reserved.