
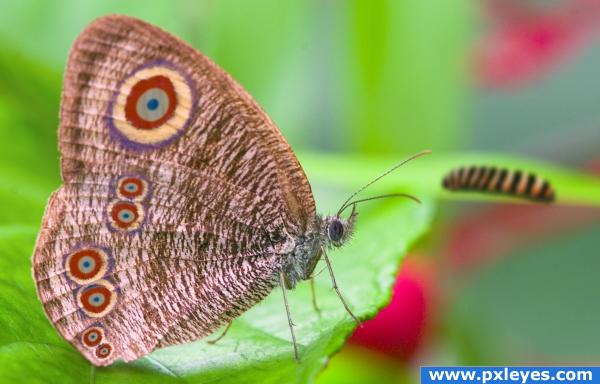
Original image
step 1 of 4
My first step was to cut out the wing (which I could do with the magic wand tool thanks to the decent contrast with the background). I added a hue/saturation layer to the wing to give it a red tinge.
At this point I also decided to mask out the existing 'eye' patterns on the wing to give me more control over the final look (more on that later).
At this point I also decided to mask out the existing 'eye' patterns on the wing to give me more control over the final look (more on that later).

- : source
step 2 of 4
On a new layer (above the wing), I pasted 7 copies of the target from the source image. I placed them over the holes from the erased 'eyes' and used the warp tool to make them fit better and give them less of an unnatural perfectly round look. I also added a hue/saturation layer to the targets to darken them and dull the colour a little.

step 3 of 4
Almost finished with the butterfly now. At this point I turned the eyes layer back on (under the target layer), and just played around with the opacity to see what gave me the effect I wanted. Doing this with the eyes separate from the rest of the wing gave me a lot more control over that section, whis is the focal point of the picture. I ended up with about 90% opacity so put all the layers together and turned on the background to see how it looked.

step 4 of 4
The final step was to cut the image of the caterpillar out from the background. I then selected all the yellow stripes, and added a layer mask. I created a new layer and filled this with the red colour from the target and blended them (using colour mode if I remember correctly).
At this point I should apologise for not having saved a copy of the altered caterpillar image and accidentally shut my PC off - a note to all PS newbies to always save work in progress!!!
I then simply pasted the caterpillar onto my background, lowered the opacity to about 90 and gave it a gausian blur of around 4 pixels to make it look out of focus and match the rest of the image.
All I did then was create the shadow painting in a stripe of black on a layer under the caterpillar (again lowering the opacity and applying a blur). I duplicated this layer but then applied another blur to soften the shadow.
I have attached a copy of the final image just without the caterpillar so you can see how the shadows look.
I hope that all makes sense. Cheers.

Final result
Pxleyes
Photography and photoshop contests
We are a community of people with
a passion for photography, graphics and art in general.
Every day new photoshop
and photography contests are posted to compete in. We also have one weekly drawing contest
and one weekly 3D contest!
Participation is 100% free!
Just
register and get
started!
Good luck!
Follow us:


© 2015 Pxleyes.com. All rights reserved.