
Original image
step 1 of 8
Started out by cutting out the various parts of the coin using the pen and marquee tool to make a selection

step 2 of 8
Instead of cutting all the parts out of the coin I drew shapes for the stars and the bars

step 3 of 8
Once all my shapes and cut-outs were ready I began adding the metal textures using Alien Skin plug-ins for Photoshop

step 4 of 8
More metal textures - this one is Chrome, part of Alien Skin Eye Candy plug-ins.

step 5 of 8
Once all my shapes and cut-outs were textured I made a selection out of all of them and cut out the holes for the coin back

step 6 of 8
Now I put all the shapes & cut-outs together (this is really step 5, sry)

step 7 of 8
Filter:Render:Lighting Effects

step 8 of 8
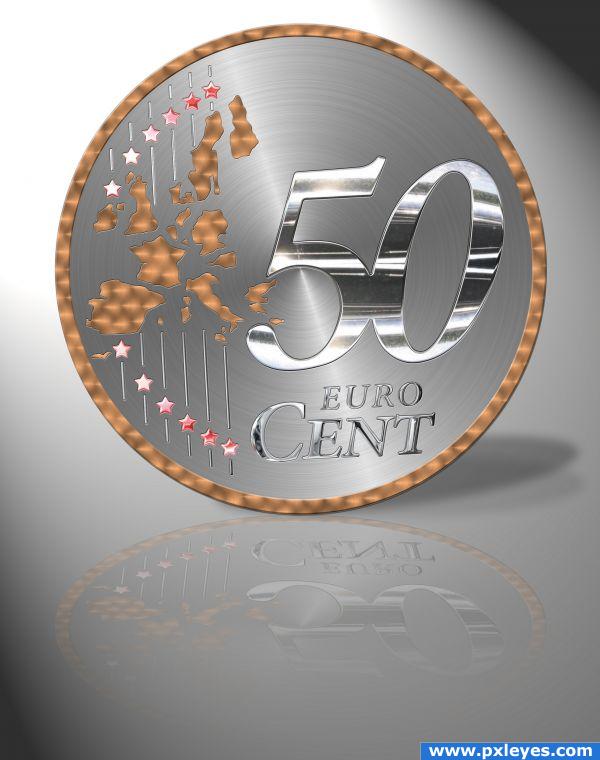
Shadows and reflection

Final result
Pxleyes
Photography and photoshop contests
We are a community of people with
a passion for photography, graphics and art in general.
Every day new photoshop
and photography contests are posted to compete in. We also have one weekly drawing contest
and one weekly 3D contest!
Participation is 100% free!
Just
register and get
started!
Good luck!
Follow us:


© 2015 Pxleyes.com. All rights reserved.