
Original image
step 1 of 8
After isolating and brightening the coin a little I put it on the bottle using 3d>new shape from layer>wine bottle
then played with the settings in the 3d material window to fine tune the colors/opacity.
then played with the settings in the 3d material window to fine tune the colors/opacity.

step 2 of 8
Next I did the same thing except used the ring shape rather than the bottle, also fine tuned a little.

step 3 of 8
Next I added some red with highlights for "liquid", and clipped it with the bottle.

step 4 of 8
then I got this wonderful stock pic from *Deathrockstock
appropriately named "At the Bar"
appropriately named "At the Bar"

- : source
step 5 of 8
Then I clone stamped away the bottle he was holding

step 6 of 8
Now I added the ring, bottle and coins to the devil image all as smart objects.( just in case!)
I added a red outer glow to the ring and eye coins and masked away his fingers on the bottle.
Also warped the eye coins to fit the sockets more naturally.
I added a red outer glow to the ring and eye coins and masked away his fingers on the bottle.
Also warped the eye coins to fit the sockets more naturally.

step 7 of 8
Next I used the magic wand to select his skin and created a new channel for the selection.
Then used the spray strokes filter on his body,
inverted the selection and used the texturizer filter on the remainder of the pic. (actually did them all on seperate layers, but you get the point)
Then used the spray strokes filter on his body,
inverted the selection and used the texturizer filter on the remainder of the pic. (actually did them all on seperate layers, but you get the point)

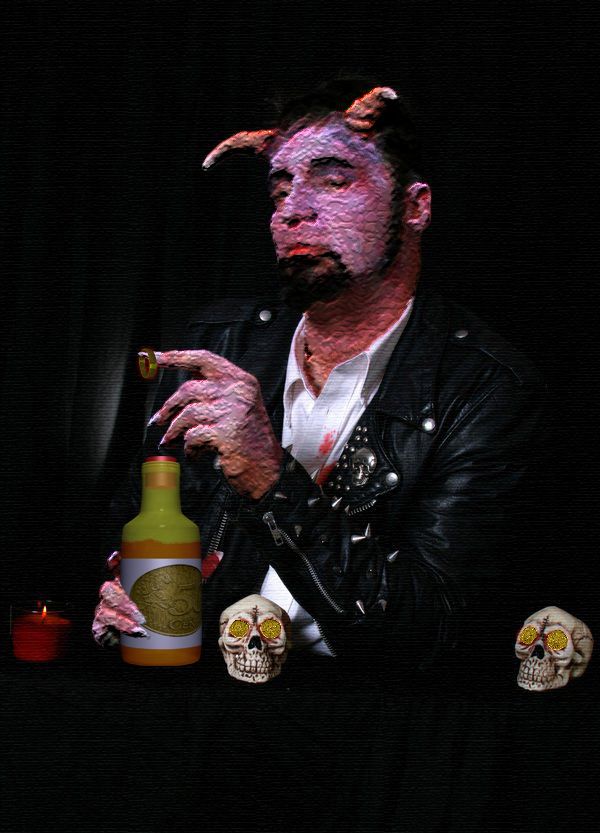
step 8 of 8
Finally I dropped the opacity on the texture layer and used the body channel I saved earlier to add a craquelure filter to his body
( I wasn't happy with just the brush strokes )
That's it!
( I wasn't happy with just the brush strokes )
That's it!

Final result
Pxleyes
Photography and photoshop contests
We are a community of people with
a passion for photography, graphics and art in general.
Every day new photoshop
and photography contests are posted to compete in. We also have one weekly drawing contest
and one weekly 3D contest!
Participation is 100% free!
Just
register and get
started!
Good luck!
Follow us:


© 2015 Pxleyes.com. All rights reserved.