
Original image
step 1 of 6
1. To start, I use a black canvas with a black background for a outer space background

step 2 of 6
2. Next, using elliptical marquee tool, I selected oval shapes both black and the white light, using a 10 pixel feather to give it a blurry edge.

step 3 of 6
3. Using another blank canvas, this time with a purple background, I selected another oval to add another layer and then again with a blue color.

step 4 of 6
4. After flattening the colored rings into one layer, I make another blank canvas to drag what I have done so far so I can make a new background with the layers showing but in one single layer, changing opacity slightly, as well as color adjustment. Then using filter/noise/dust and scratches to add more grittiness, giving it more of a starry look.

step 5 of 6
5. Selecting a section of the wall with the texture of rocks, I adjusted the contrast to make the magic wand select more of the texture, then used liquefy for each ring of stars, to give each a better swirl and shape around the center.

step 6 of 6
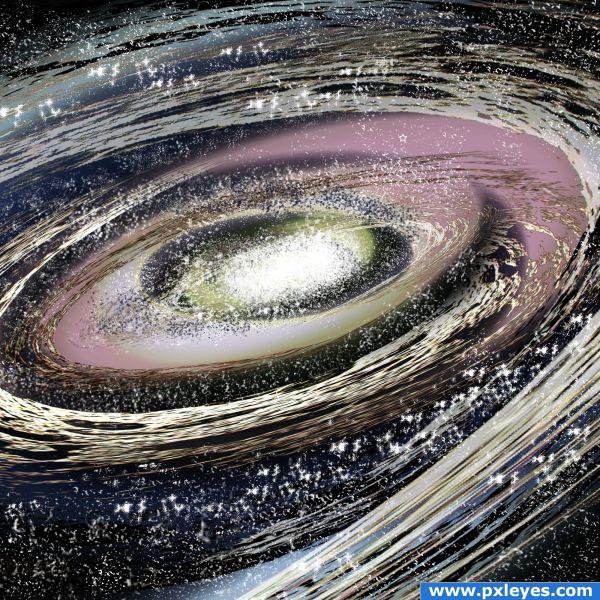
6. Using the light from the source image I used the clone stamp tool with a dotted brush and adjusted the size to increase dimension.

Final result
Pxleyes
Photography and photoshop contests
We are a community of people with
a passion for photography, graphics and art in general.
Every day new photoshop
and photography contests are posted to compete in. We also have one weekly drawing contest
and one weekly 3D contest!
Participation is 100% free!
Just
register and get
started!
Good luck!
Follow us:


© 2015 Pxleyes.com. All rights reserved.