
Original image
step 1 of 5
This very simple picture took a long time of careful cutting out using quite a number of different methods. Some of the methods are illustrated in these next images. This one I used a lot of saturation.

step 2 of 5
In this step can be seen the progress in the masks I used one after the other. These that can be seen are copies of ones already applied

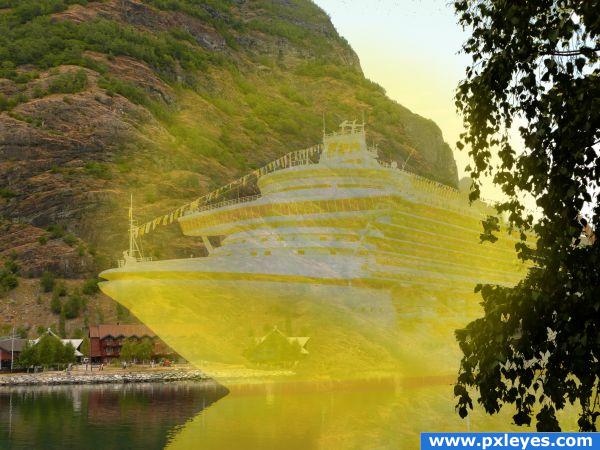
step 3 of 5
Note that I cut out the Cruise ship and then inverted the mask to create " Layer 1 copy 6" which is the image I took across to the next step in a new file.

step 4 of 5
last steps - I used the clone stamp and healing tool to wipe out the name of the boat. ADVENTURA is in Times New Roman Font and has been Rasterized and warped to fit. Layer Properties are as indicated to the right of the Layer Pallet. The light rings have been set with different transparencies.

step 5 of 5
The last stages involved 1/- The Clone Stamp Tool with several different brushes.
2/- Image > Adjustment > Gradent Map with several different yellows. The layer was set at 50% opacity.
2/- Image > Adjustment > Gradent Map with several different yellows. The layer was set at 50% opacity.

Final result
Pxleyes
Photography and photoshop contests
We are a community of people with
a passion for photography, graphics and art in general.
Every day new photoshop
and photography contests are posted to compete in. We also have one weekly drawing contest
and one weekly 3D contest!
Participation is 100% free!
Just
register and get
started!
Good luck!
Follow us:


© 2015 Pxleyes.com. All rights reserved.