
Original image
step 1 of 7
Use a selection tool to select various parts of the balloons in the shapes of petals or what have you.

step 2 of 7
Duplicate petals until you have as many as you need for your flower.
Use the Edit>Transform>Rotate and/or Warp and/or Scale to put your flower together.
Hide all layers including background layer, except for the layers of the flower that you're working on.
Select Layer>Merge Visible.
Use the Edit>Transform>Rotate and/or Warp and/or Scale to put your flower together.
Hide all layers including background layer, except for the layers of the flower that you're working on.
Select Layer>Merge Visible.

step 3 of 7
Repeat for each flower you intend on making.

step 4 of 7
Cut out the faerie and resize her.
Cut out the hair from the girl balloon.
Cut out the hair from the girl balloon.

step 5 of 7
Use Edit>Transform>Scale to make the hair selection fit the bottom of your image. Use Image>Adjustments>Hue/Saturation to make it green for the grass.

step 6 of 7
Fill the background with blue. Select Filter>Render>Clouds.
Select Filter>Blur>Radial Blur and place the center where you would like it.
Select Filter>Blur>Radial Blur and place the center where you would like it.

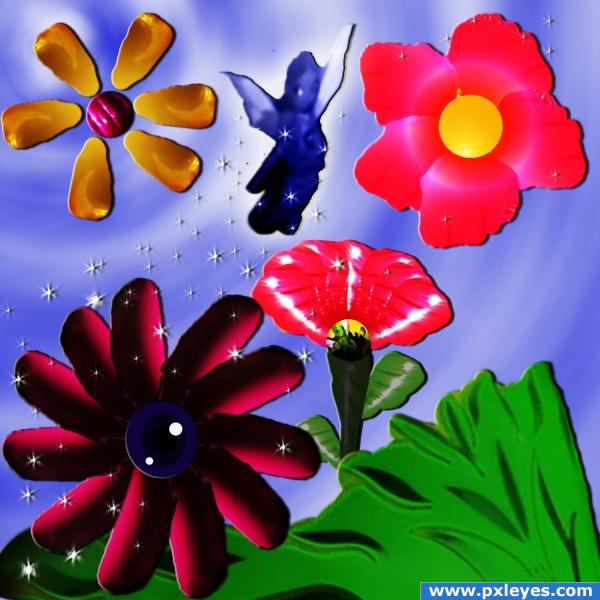
step 7 of 7
Place flowers and faerie into image. Use a small star brush that comes with photoshop and place stars where ever you'd like on the faerie layer.
Layer>Drop Shadow and Bevel/Emboss to everything.
Layer>Outer Glow to Faerie. Increase Size of glow.
Add a Curves Layer and increase contrast.
Layer>Drop Shadow and Bevel/Emboss to everything.
Layer>Outer Glow to Faerie. Increase Size of glow.
Add a Curves Layer and increase contrast.

Final result
Pxleyes
Photography and photoshop contests
We are a community of people with
a passion for photography, graphics and art in general.
Every day new photoshop
and photography contests are posted to compete in. We also have one weekly drawing contest
and one weekly 3D contest!
Participation is 100% free!
Just
register and get
started!
Good luck!
Follow us:


© 2015 Pxleyes.com. All rights reserved.