A Work in Progress: The Time Tamer


This guide was made for entry:
The Time Tamer
In Contest:
steam punk


step 1 of 21

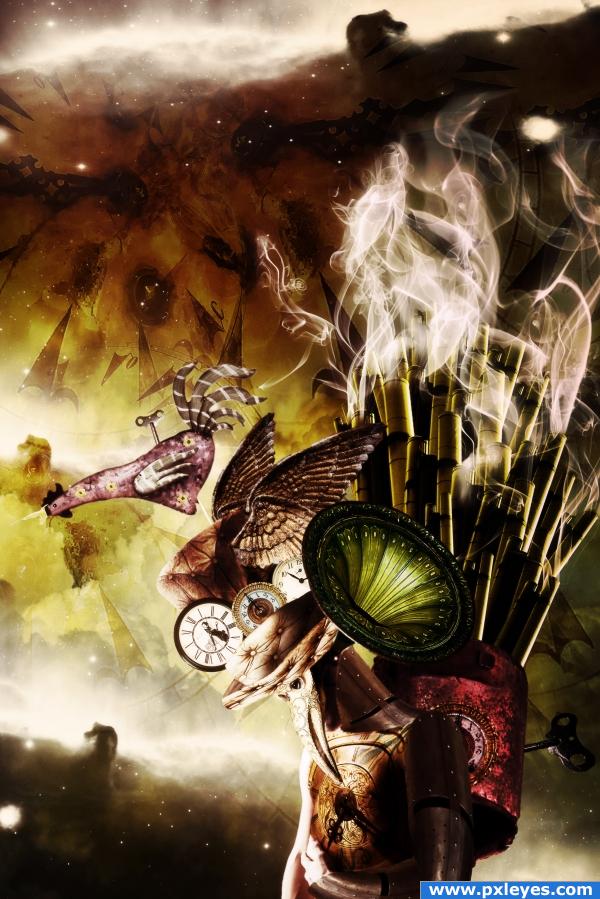
These are the selections of the leather texture, hat and green gramophone.
Using warping and resizing, I added the texture on top of hat. I also changed blending mdoe to hard light to get better shadows.

Creation of The Time Tamer: Step 1
sources used for this step:

step 2 of 21

I added hat and gramophone cone over man.

Creation of The Time Tamer: Step 2
sources used for this step:

step 3 of 21

These are three types of clocks and the wings selections, all selected with the quick selection tool.

Quick general tip:
- as you can notice, most of my selections were made with the quick selection tool as I really had a lot of them to do. The quick selection tool is a good tool but not as precise as the pen tool. So as a quick tip: each selection I made I had to defringe it (remove the extra useless bits and pieces around the selection). You can find this useful tool under layer/matting/defringe. I personally used the maximum width of 200pixels.

Creation of The Time Tamer: Step 3
sources used for this step:

step 4 of 21

Added clocks and wings on hat. Masked parts of them using layer's mask.

Creation of The Time Tamer: Step 4

step 5 of 21

Rooster and batery selections.

Creation of The Time Tamer: Step 5
sources used for this step:

step 6 of 21

Added rooster and battery tank.
Colorized the tank using hue/saturation.
For both elements I duplicated layers, desaturated them and then changed the blending mode to hard light to get more of the natural shadows.

Creation of The Time Tamer: Step 6

step 7 of 21

Venice Mask and helmet selections.

Creation of The Time Tamer: Step 7
sources used for this step:

step 8 of 21

Added Venice mask, rotated it and resized it to better match man's face and eyes.
Added helmet on arms and neck, using warping, resizing and rotating.

Creation of The Time Tamer: Step 8

step 9 of 21

Two types of clocks selections.
First one is for the back tank, second one for man's chest.

Creation of The Time Tamer: Step 9
sources used for this step:

step 10 of 21

Added first clock onto the back tank, changed blending mode to overlay.
Added the square clock on top of chest. Used warping and changed blending mode to multiply.

Creation of The Time Tamer: Step 10

step 11 of 21

These are:
- key selection;
- chimney (furnace) selection.
The final shape was created using the chimney selection in different positions.

Creation of The Time Tamer: Step 11
sources used for this step:

step 12 of 21

Added two keys, one on top of rooster and the other one on the back of tank.
Added chimney shape and colorized it using hue/saturation.

Creation of The Time Tamer: Step 12

step 13 of 21

Added some orange clouds and resized them to better fit the size of my own image.

Creation of The Time Tamer: Step 13
sources used for this step:

step 14 of 21

Added other types of clouds on the bottom of my image.

Creation of The Time Tamer: Step 14
sources used for this step:

step 15 of 21

Added another type of clock on the backround. Warped and resized it, applied different rotations and changed blending mode to soft light.

Creation of The Time Tamer: Step 15
sources used for this step:

step 16 of 21

I used my primary green backround screen as I wanted to calm down the overall tones.
Here you can preview how it looked like before changing the blending mode and opacity.

Creation of The Time Tamer: Step 16

step 17 of 21

Changed blending mode of the green backround to hue, and lowered opacity down to 28%.

Creation of The Time Tamer: Step 17

step 18 of 21

Added different smoke brushes and some beautiful galaxies free brush.

Creation of The Time Tamer: Step 18
sources used for this step:

step 19 of 21

Added a linear gradient layer from dark green (on the right) to soft brown (on the left).

Creation of The Time Tamer: Step 19

step 20 of 21

Added another gradient, this time radial, using different tones of orange and brown in order to give my image some lighting effects.

Creation of The Time Tamer: Step 20

step 21 of 21

Changed gradient layer's blending mode and opacity as follows:
- green gradient: blending mode overlay, opacity 46%;
- orange/brownish gradient: blending mode overlay, opacity 16%.
Made some corrections on the back tank using the clone stamp tool.
Added some gaussian blur and changed blending mode to screen to get the image to lighten up a bit (opacity 24%).
Added a brightness/contrast adjustment layer and a gradient map for shadowing.
Finally added some high pass filter for better definition: blending mode overlay and lowered opacity down to 29%.

Creation of The Time Tamer: Step 21

Final result

Creation of The Time Tamer: Final Result

LOGIN or REGISTER FOR FREE
to rate this guide and create your own guides.

Votes


uservoted
mellowdesign
akasha
1wkdwmn
Jacu
Score:
10


Comments

avatar beaneze
beaneze says:

Very good guide

(5 years and 3546 days ago)