The very first and very rough sketch... I don't believe in lineart (it's a good thing but I'm too hasty for it) so I just scribble around and use very thin and very large brushes (thin for outline, wide for the mass and color areas)
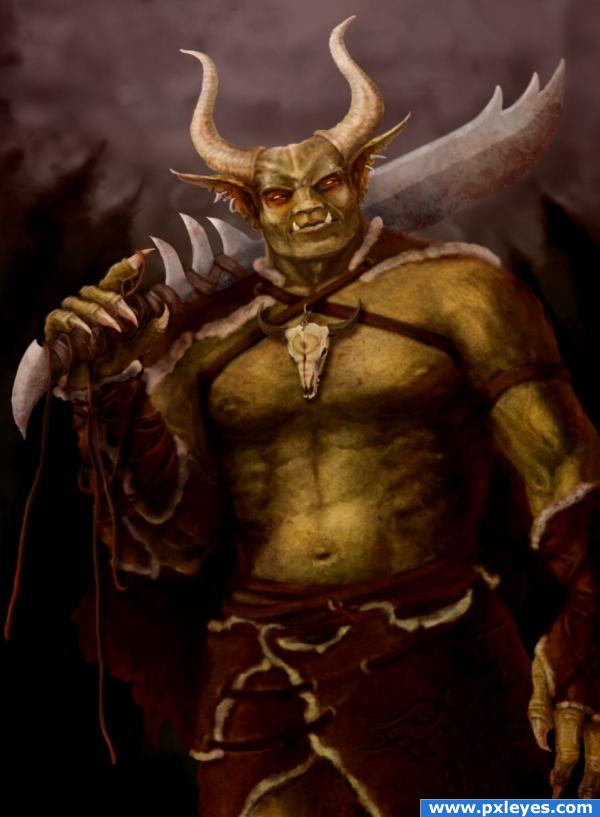
Here I determine the general position of the figure, the pose, light direction and some basic color scheme. I usually make a lot of changes in the process but this is the start. Details might be added just as a reminder - it's no use working on the details if you haven't figured out how they would fit in...
Here I determine the general position of the figure, the pose, light direction and some basic color scheme. I usually make a lot of changes in the process but this is the start. Details might be added just as a reminder - it's no use working on the details if you haven't figured out how they would fit in...