
Original image
step 1 of 2
Well firstly get source your metal. Add that to your image. Hide that for the moment.
Take your source and using the pen tool, cut out the major segments as accurately as you can. You should have on separate layers, the base, the body the neck and the face.
Now take your metal texture and transform and warp it to the desired shape to suit the part. Pick appropriate sections of the metal to help you. eg, darker for under the neck etc.
Select the cut out body and with the selection outline still active, select your adjusted metal layer, invert the selection and then clear the rest. Now you have your metal body.
Repeat this for your remaining parts. You should end up with something like the image.

step 2 of 2
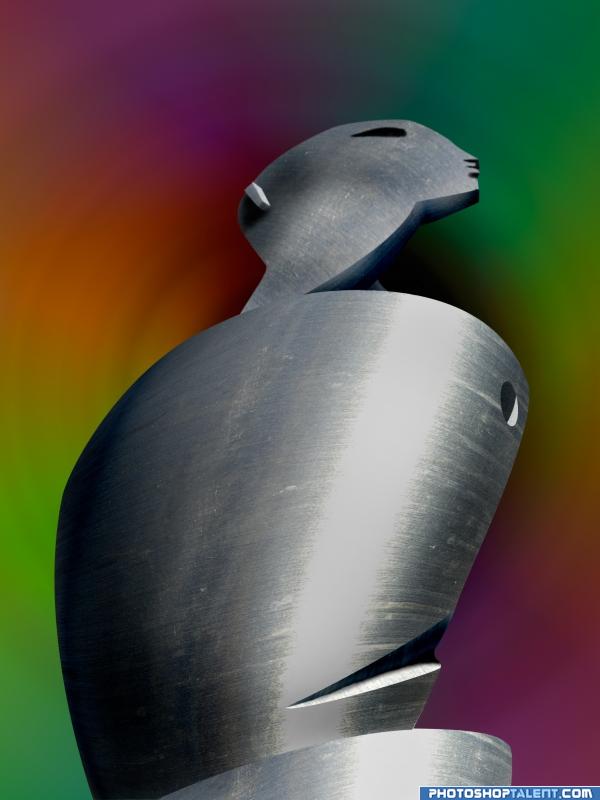
Position your parts slightly to cover any gaps etc. As they are on separate layers, you can adjust them individually. For those pesky parts that dont want to join up use the smudge or clone tool. Remembering that the layers here can help hide things too. I kept my body on the top layer as I could then blend the neck, face, slot and hole under it so their cutouts did not need to be as precise where they went under the body.
At this point I also started using the burn tool. I used it to create the eye and mouth etc. I also used to to add depth to the back and the sides of the face and the neck. I used a basic cutout to make the ear and added a burn shadow.
Finally I added a slight blur over the face to match the source. Then run around the edges with the blur tool.
Then just check your joins and add a background.

Final result
Comments
Pxleyes
Photography and photoshop contests
We are a community of people with
a passion for photography, graphics and art in general.
Every day new photoshop
and photography contests are posted to compete in. We also have one weekly drawing contest
and one weekly 3D contest!
Participation is 100% free!
Just
register and get
started!
Good luck!
Follow us:


© 2015 Pxleyes.com. All rights reserved.
Sorry..
(5 years and 4034 days ago)