
Original image
step 1 of 8
I used liquifying wrapping some erasing and used the pen tool.
I used the burn tool to create some dark areas
That's pretty much it.
I used the burn tool to create some dark areas
That's pretty much it.

step 2 of 8
There are 3 seperate layers for the eye.
eyelid
eyeball
skintexture
For both I used the circular shape tool and then wrapped around each of the parts to get a perfect fit. For the skin texture I duplicated the eyelid layer then used special effect brush and added an innerglow to it with an overlay effect.
For the Eyelid
innershadow-white
Innerglow-white with an opacity and a contour that's what made the circular part
bevelemboss
gradiant overlay
and a stroke
For the Eyeball
Outerglow
Bevelemboss
gradiant
satin
stroke
I tried alot of differnt things to get it to look this way and this is what came out best, I know there are a lot of effects added.

step 3 of 8
Showing you where I got the parts from so you can get a better idea what I did. I basically selected the part I wanted and wrapped it around the back a little. I liquified the part by it's ear to give it a little ear effect hopefully.

step 4 of 8
I used the wrap tool around the leg, and the liquefy to get it just right

step 5 of 8
Used wrap again and liquefy

step 6 of 8
wrap perspective and a little bit of liquefy

step 7 of 8
liquefy and wrap and I burned under the arm to give some depth

step 8 of 8
Clean up the layers I used the pen tool
The End!
The End!

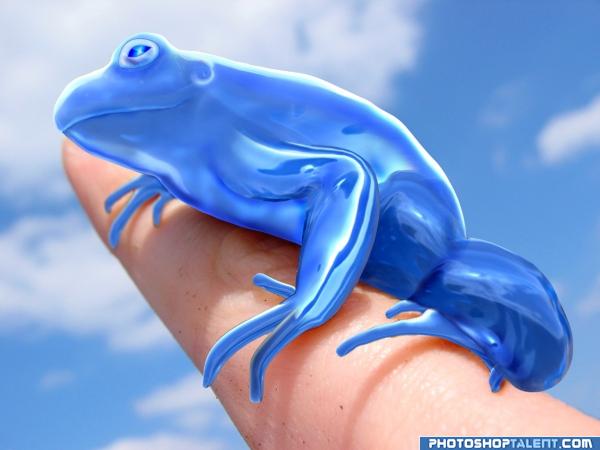
Final result
Pxleyes
Photography and photoshop contests
We are a community of people with
a passion for photography, graphics and art in general.
Every day new photoshop
and photography contests are posted to compete in. We also have one weekly drawing contest
and one weekly 3D contest!
Participation is 100% free!
Just
register and get
started!
Good luck!
Follow us:


© 2015 Pxleyes.com. All rights reserved.