
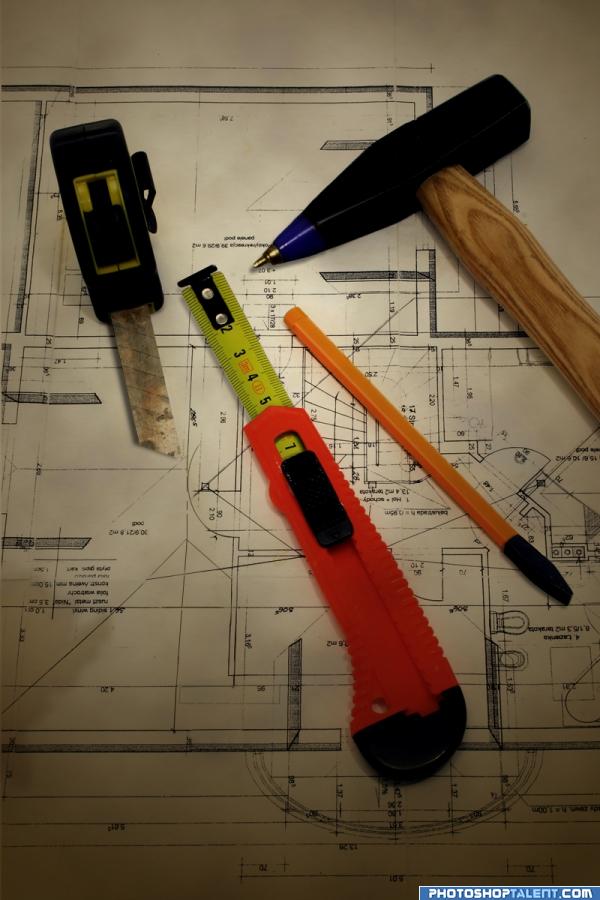
Original image
step 1 of 6
First, I covered in white some areas in the image that will be visibly affected when I start cutting out the tool parts.

step 2 of 6
I "reconstructed" (or rather invented lol) the lines on the paper with pencil tool.
(The colored lines in the image have been highlighted to reveal which parts were reconstructed.)
(The colored lines in the image have been highlighted to reveal which parts were reconstructed.)

step 3 of 6
The hollowed out areas show which parts were cut off from the original image. I simply duplicated the layers and cut off a part of the tool for each duplicate.
Figure A - comes from the pen tip
Figure B - comes from tape measure
Figure C - Cutter blade (I duplicated this layer again and again to make the blade longer.)
Figure D - the hammer's head
Figure A - comes from the pen tip
Figure B - comes from tape measure
Figure C - Cutter blade (I duplicated this layer again and again to make the blade longer.)
Figure D - the hammer's head

step 4 of 6
Position the cut out parts in their new places. I used the marquee tool to cut out the excess parts and reveal only the ones that are necessary

step 5 of 6
Add in some shadows on the newly added parts. Drop shadow was used in this work.. I just changed the direction to mimick the image's other shadows and lowered the opacity.
Additional: I also created a highlighted line on the pencil to match the highlight on the attached hammer head. (Here's how I did it: Just a white line drawn with a pencil, gaussian blurred then set to a low opacity.)
Additional: I also created a highlighted line on the pencil to match the highlight on the attached hammer head. (Here's how I did it: Just a white line drawn with a pencil, gaussian blurred then set to a low opacity.)

step 6 of 6
With a combination of gradient, orange-colored fill and clouds set to low opacity, I added this piece of work's final touch. :) That's it.
(You may have known easier steps to do this.. This just my interpretation. Please send me a pm if you can suggest easier methods. Thanks! ^___^ )
(You may have known easier steps to do this.. This just my interpretation. Please send me a pm if you can suggest easier methods. Thanks! ^___^ )

Final result
Pxleyes
Photography and photoshop contests
We are a community of people with
a passion for photography, graphics and art in general.
Every day new photoshop
and photography contests are posted to compete in. We also have one weekly drawing contest
and one weekly 3D contest!
Participation is 100% free!
Just
register and get
started!
Good luck!
Follow us:


© 2015 Pxleyes.com. All rights reserved.