A Work in Progress: Nice Smile


This guide was made for entry:
Nice Smile
In Contest:
ugly smile


step 1 of 7

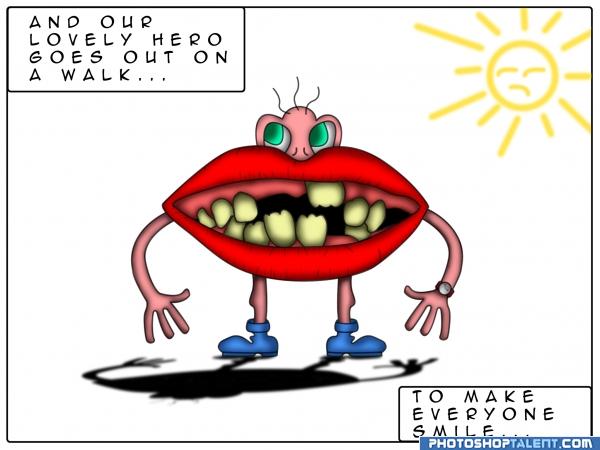
Well the first thing I did was, I made a sketch of Mr. Mouth( Let's call him that) using pen tool and a brush size 5 px and 100% hardness...

There are so many ways to make a lineart... Using pen tool and stroking it is one these ways...

Generally, while making a lineart... One can vary through the thickness of the brush... You can make it thicker at some area and thinner at other... I choose uniform thickness...

Also I made each part separately, as you can see in the ss... And later on I merge them... But one can make it in a single layer from the beginning...

Creation of Nice Smile: Step 1

step 2 of 7

Okay now I made a fill layer with color ff9fa2 called "skin"... And I change the layer mask color to black in order to hide the skin color...

Then I used path to fill the mask area with white, where the skin color should be coming... One can also use a solid white brush...

There are other way to paint flat colors... But this is one of the way when later on you can change color on the fly...

Creation of Nice Smile: Step 2

step 3 of 7

This is after painting all the parts... Also I kept the color layers under the lineart layers...

And this is the order of my flat colors layers...

Pupils - 00ffae
Eyes - ffffff
Watch - ffffff
Watch Band - 9d102d
Shoe - 4d98fd
Lips - ff0000
Tooth - f1f4a1
Gum - fb6666
Black Fill - 000000
Skin - ff9fa2

Creation of Nice Smile: Step 3

step 4 of 7

Okay the solid/flat colors are done... Now I shade them...

Please know that I am weak in shadowing/shading and I tried as much I could here XD

I created a brightness/contrast adjustment layer( B: -100/C: -50 ) above the skin layer... Named the layer "Skin Dark"... I also made a clipping mask between these two layers..

I hid the adjustment and then with a 70% opacity and soft brush I shaded the skin area... The brush size depends upon the area you are shading...

Then I blurred the mask area with 8 pixel radius Gaussian blur... It smooths out the shading...

I made another b/c adjustment layer named "Skin Medium"( B: -60/C: -30)... This one is also clipped to the skin layer... Used a 50% opacity brush... And Gaussian blurred the mask layer with the same setting...

One doesn't need to blur all the mask of the adjustment layer... Depends upon the outcome...

Creation of Nice Smile: Step 4

step 5 of 7

This is the completed shaded one...

Creation of Nice Smile: Step 5

step 6 of 7

After merging the lineart and colors.. I ctrl-clicked the layer to select Mr. Mouth and made a black fill of the selection to use as his shadow in a layer below the merged layer...

I made the shadow by transforming it and giving a Gaussian blur of radius 4 pixel to it...

Creation of Nice Smile: Step 6

step 7 of 7

Now lastly I added a border, text and a little sun to sum it up...

I am really lazy in explaining stuff... =D

Creation of Nice Smile: Step 7

Final result

Creation of Nice Smile: Final Result

LOGIN or REGISTER FOR FREE
to rate this guide and create your own guides.