A Work in Progress: Dark Fate


This guide was made for entry:
Dark Fate
In Contest:
dark surealism 2019


step 1 of 7

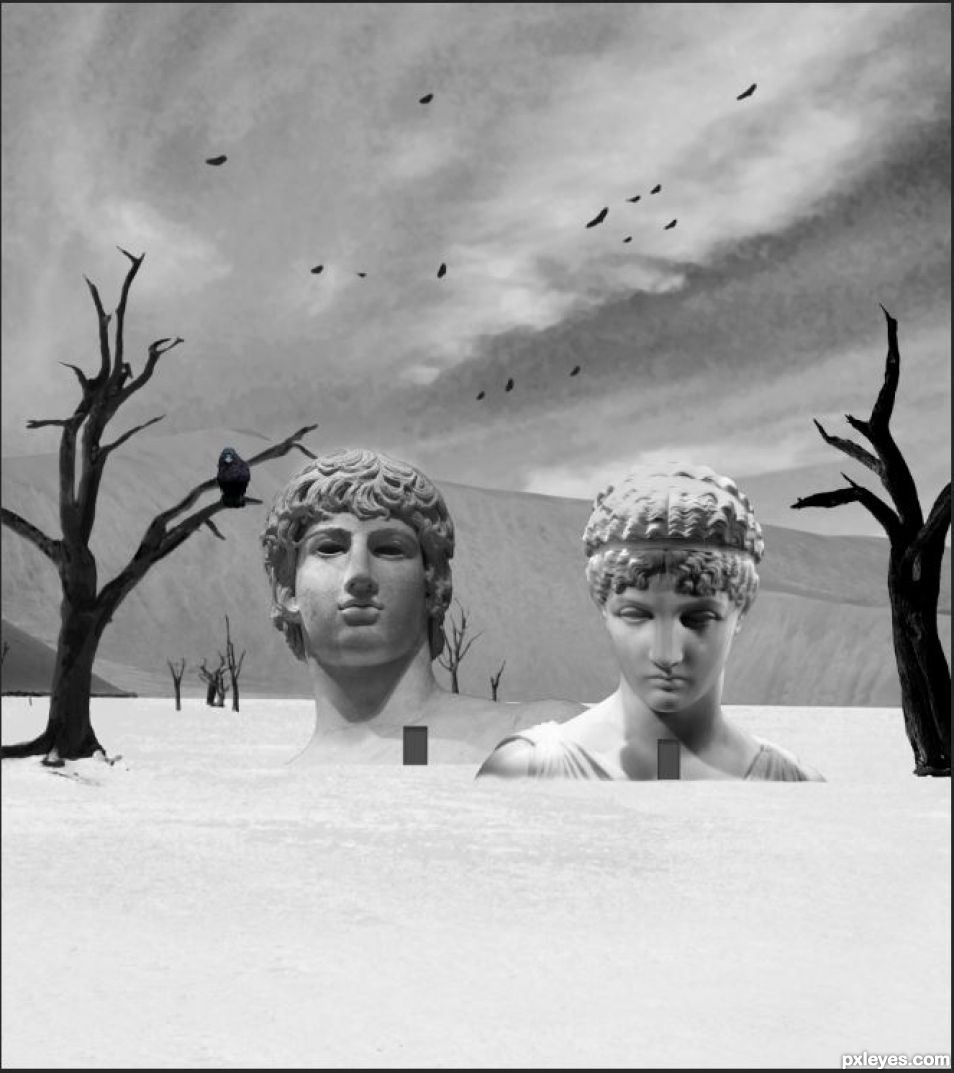
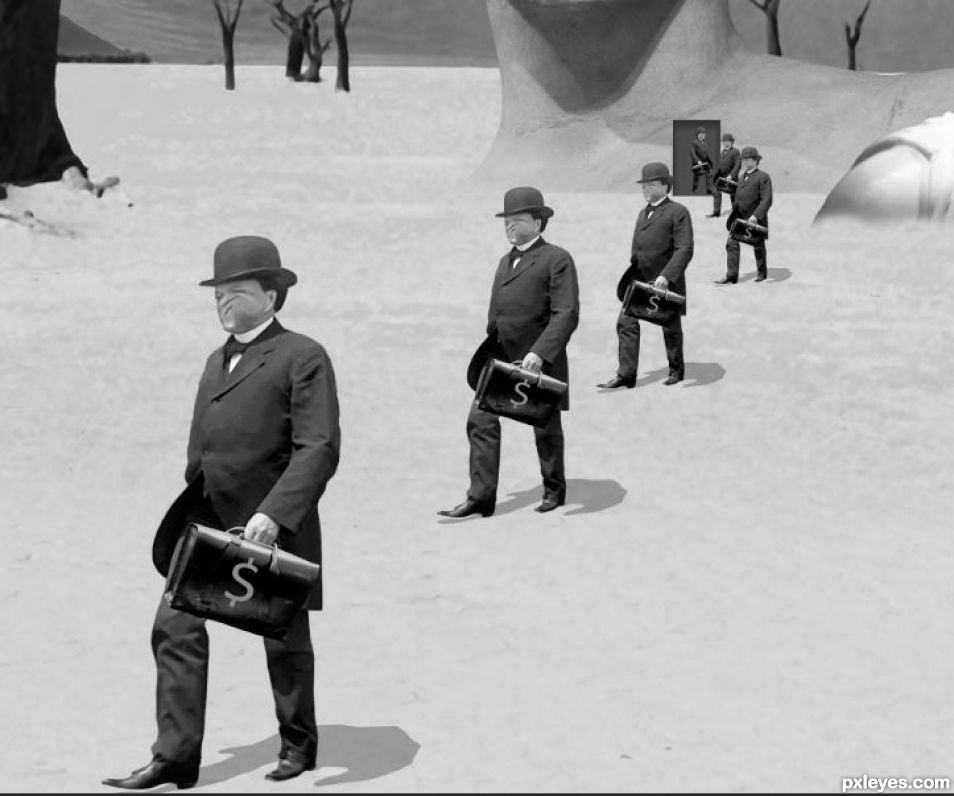
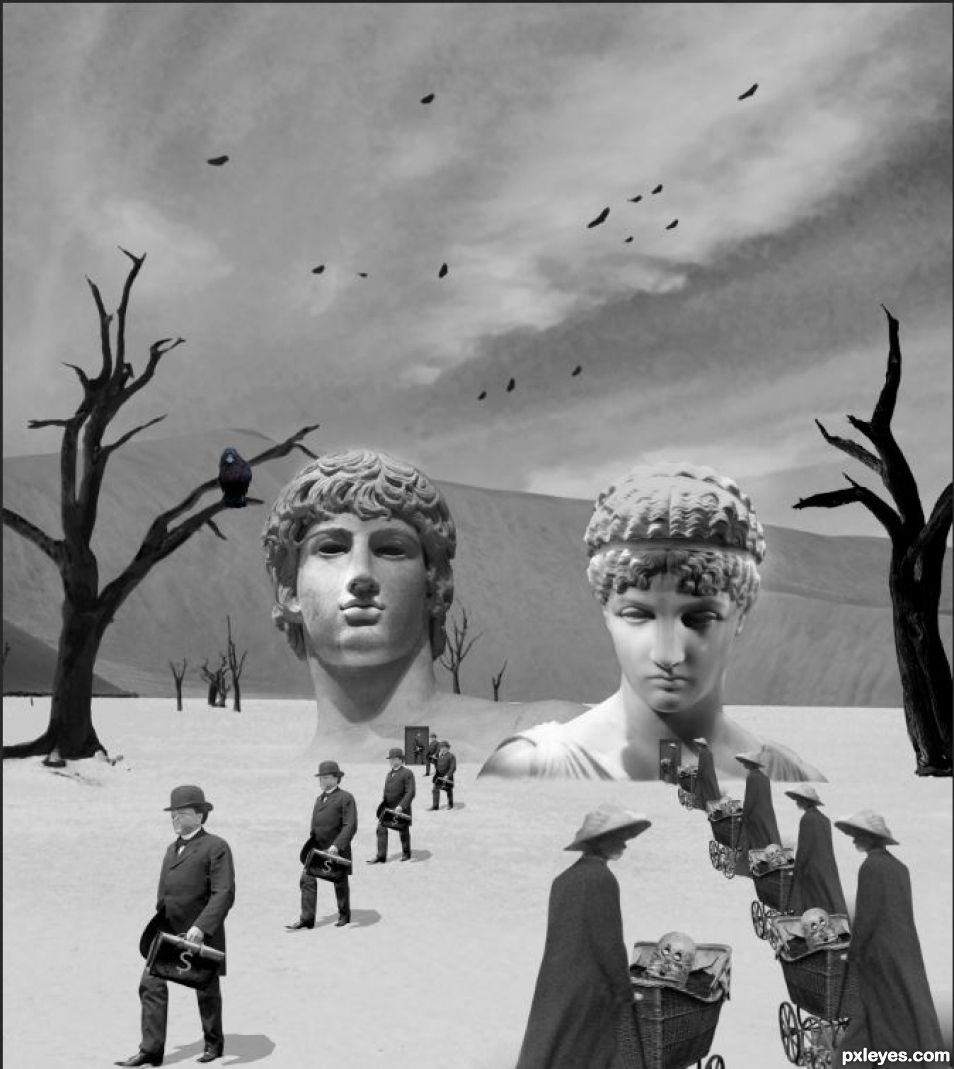
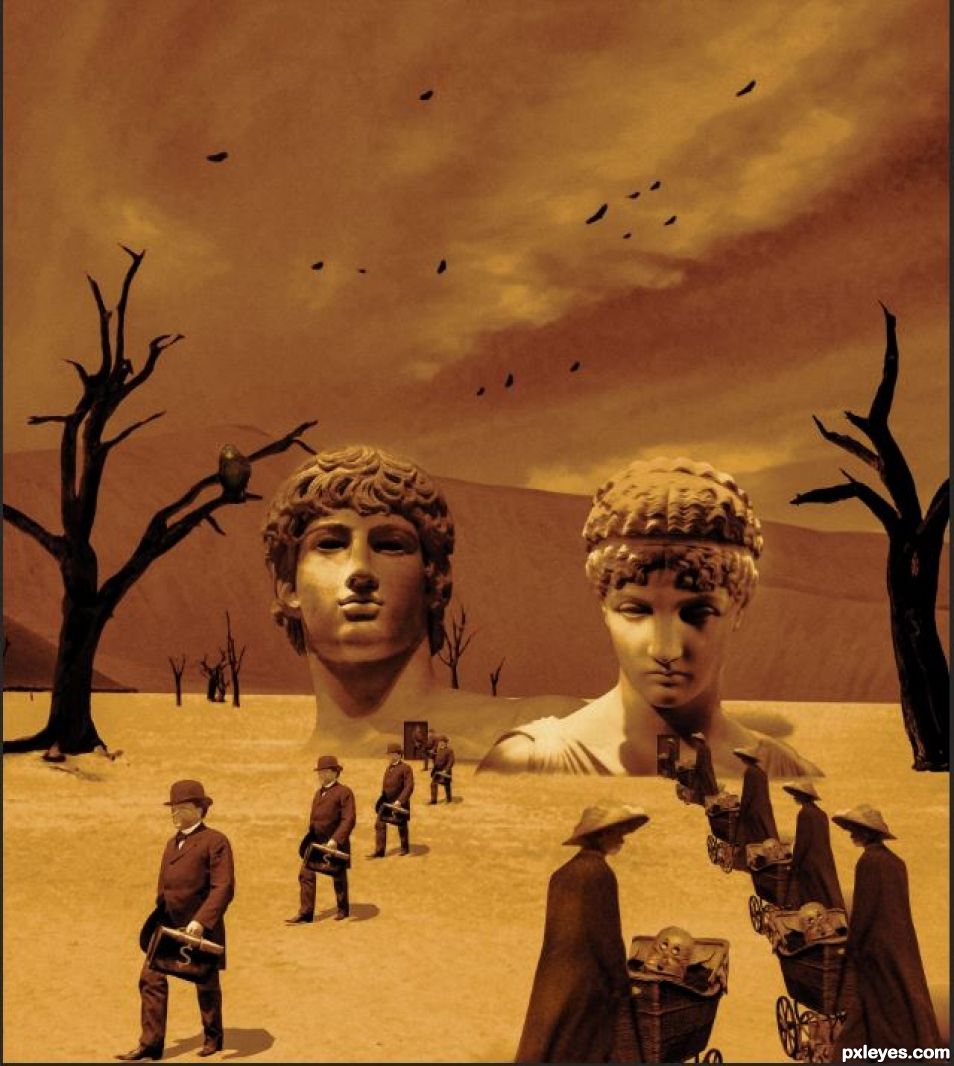
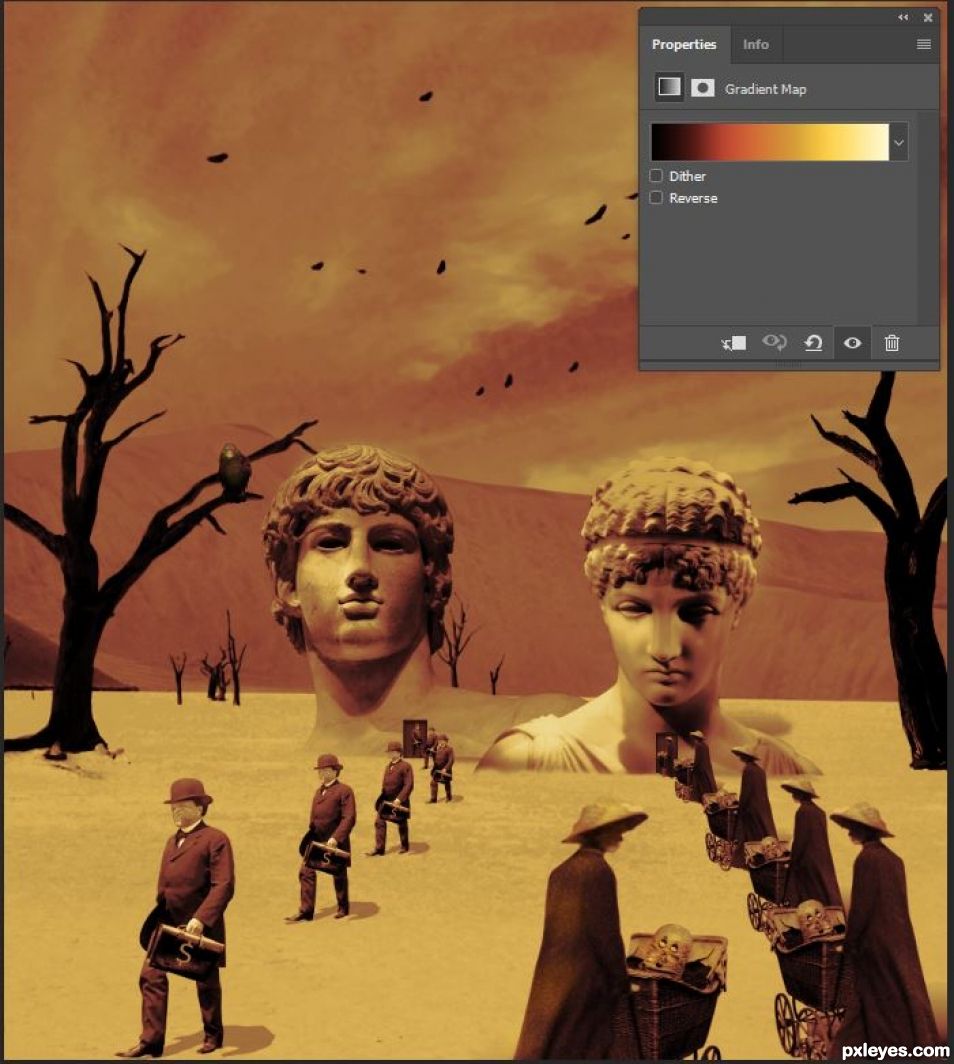
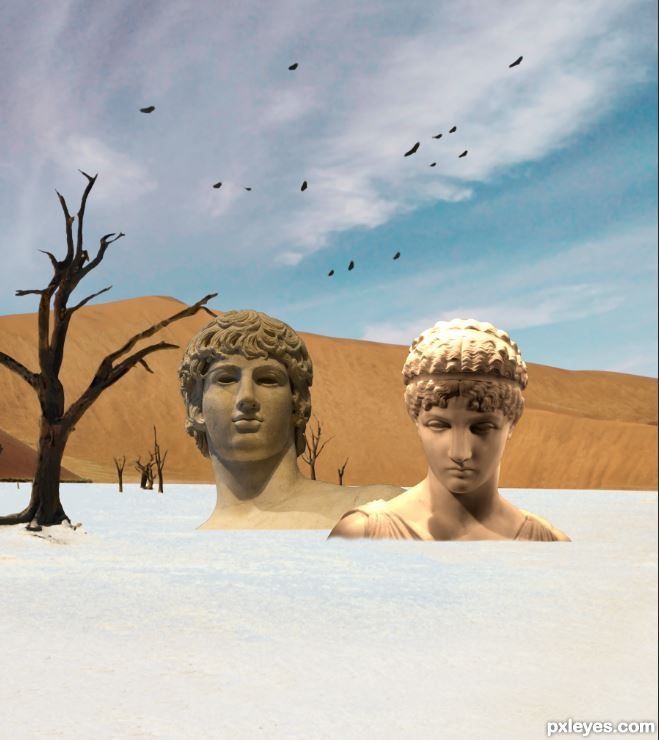
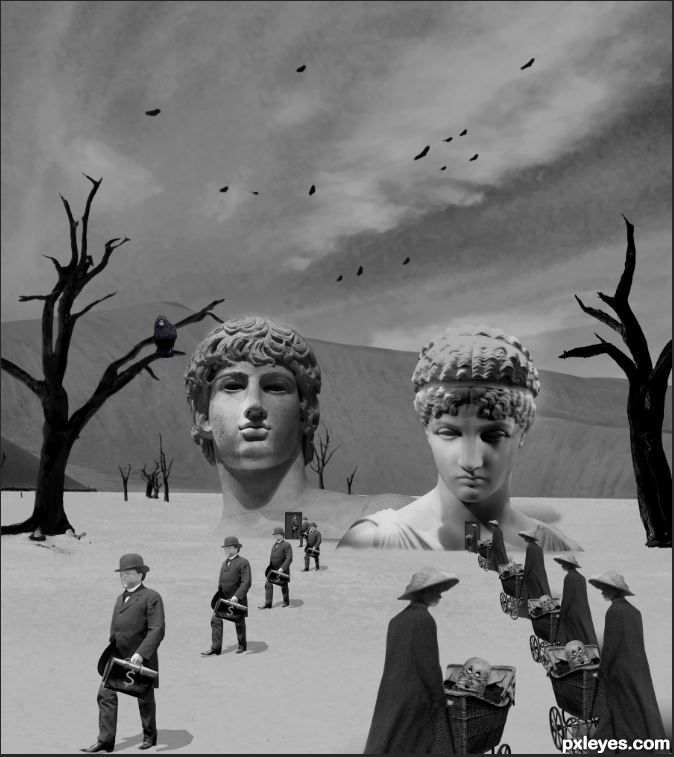
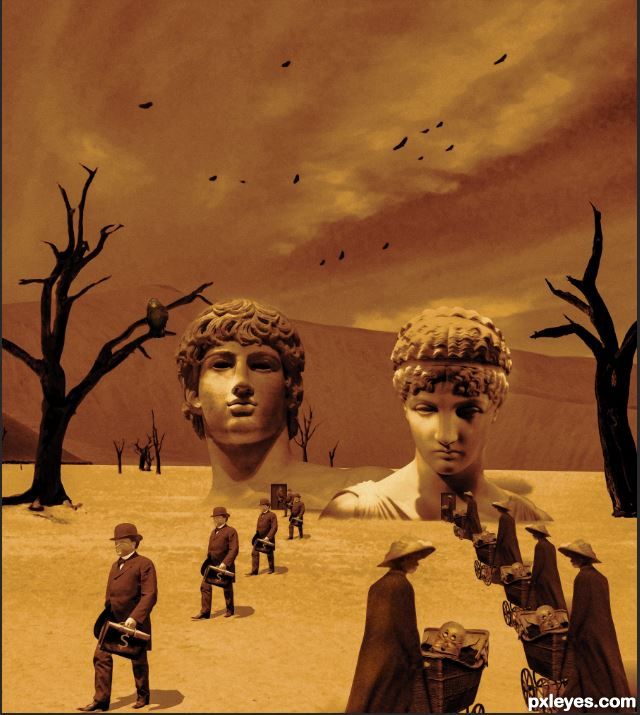
Placed desert scene. Added sky from another source soften sky with median filter. Added birds from another source. Placed god and goddess -masked their bottom to simulate being buried in sand.

Creation of Dark Fate: Step 1
( hi-res )

step 2 of 7

Placed tree on right from another source. Dodge-Burn statues. Added doors at bottom of statues used inner shadow to style. At this point, added Black and White adjustment over everything.
Added raven. Had to use 2 sources for raven as I wanted raven looking straight ahead as raven will have 3 green eyes.

Creation of Dark Fate: Step 2
( hi-res )

step 3 of 7

Seperated canvas for man with bowler hat. Used the Twirl filter on his face to give him groutesque look. Added briefcase with dollar sign from text. Once completed saved. Then on main canvas Place Linked the man so that if I needed to make any changes on him, I would only have to make the changes on the linked to canvas. This strategy turned out to be a real time saver.
Once placed, I duplicated the man 5 times. Then used a scale in perspective method to drag them into place as needed. Procedure is: 1. Place largest man in front. Press control T to transform. 2. Make sure aspect ratio button is on. (black). 3. Drag the center reference point on the transform bounding box to a spot representing the vanishing point of the scene. Hold Shift-Alt while dragging from bottom right corner towards the vanishing point. Then repeat procedure for the rest of the objects. I flipped horizontal the guy in the door and removed his ground shadow.

Creation of Dark Fate: Step 3
( hi-res )

step 4 of 7

Added the buggy pusher women using the same procedures and the bowler men. Touched up the trees and the desert. Lightened up the left side of the front-most women as the sun will be shining more on her coat.

Creation of Dark Fate: Step 4
( hi-res )

step 5 of 7

Added some shadows to the statues. Darkened up the goddess as sun should be shining only on the left side. Tweaked the raven and overall levels of the scene.

Creation of Dark Fate: Step 5
( hi-res )

step 6 of 7

Added a yellow red gradient map, as well as curve adjustments to darken scene

Creation of Dark Fate: Step 6
( hi-res )

step 7 of 7

Finally added an oil paint filter with lighting turned off to smooth out the image. Also used camera raw Artistic04 color preset and various Cam Raw adjustments.

Creation of Dark Fate: Step 7
( hi-res )

Final result

Creation of Dark Fate: Final Result

LOGIN or REGISTER FOR FREE
to rate this guide and create your own guides.

Votes


uservoted
BWR
Score:
10


Comments

avatar BWR
BWR says:

Nice SBS

(4 years and 354 days ago)