A Work in Progress: Pandora


This guide was made for entry:
Pandora
In Contest:
mixed media 18


step 1 of 21

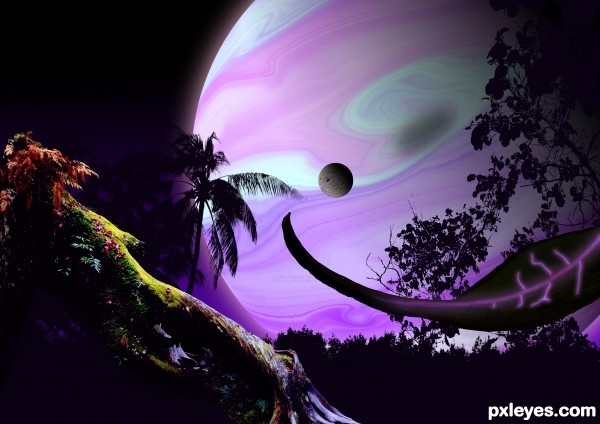
Open a new document sized 3508 x 2480 pixels and 300 pixels/inch.. Then open another new document seized 1500 x 1500 pixels also at 300 pixels/inch. In the second document paste in the gas giant texture. Create a new layer and paste in the Clouds, set this layer to Screen and reduce the Opacity to 25%. Merge the two layers. This is optional depending on the Gas Giant texture you use, but if you want to alter it slightly or radically, go Filter > Liquify and alter as you see fit.

Creation of Pandora: Step 1

step 2 of 21

Next we need to get the texture more spherical. Go to Filter > Distort > Spherize and set to 100%. Select area using Elliptical Marquee Tool, go Select > Inverse and delete remaining area. Create a new layer and using gradient tool, use from black to white. Then Spherize the gradient layer exactly the same as before. Set the Gradient layer to Multiply.

Creation of Pandora: Step 2

step 3 of 21

Now we’re making a minor adjustment to the shadow of the gas Giant. Create new adjustment layer (Levels) and set as shown.

Creation of Pandora: Step 3

step 4 of 21

To give it a slight atmospheric appearance, create new adjustment layer (Hue/Saturation) and set as shown

Creation of Pandora: Step 4

step 5 of 21

To finish the atmosphere appearance, duplicate the Gas Giant texture layer and move it below the original. Then select Filter > Blur > Gaussian Blur, set to 45.0 (You don’t need to fill the background of this, but for the purpose of this SBS I have so you can see the effect of the Gaussian Blur).

Creation of Pandora: Step 5

step 6 of 21

Now just one final adjustment to this layer. Create another Hue/Saturation layer, link to Gaussian Blur layer and set to following

Creation of Pandora: Step 6

step 7 of 21

Create folder & name Gas Giant, move all layers into folder and then drag the folder to main document. Select folder and rotate so shadow is in top right corner, then open folder and select the Gas Giant texture and rotate that, leaving shadow and Gaussian Blur in place.

Creation of Pandora: Step 7

step 8 of 21

I later decided that i wasn’t happy with the final colour of the Gas Giant, so I went back and added another Adjustment Layer (Hue/Saturation), then applied the following settings (this won’t show for the next few screenshots)

Creation of Pandora: Step 8

step 9 of 21

Create new layer (or use Background layer) and using Gradient Tool, using following colours: 8503fe and 000000

Creation of Pandora: Step 9

step 10 of 21

Paste in the first set of Trees. As the image comes out quite small, paste another and flip horizontal and slightly overlap. Next Free Transform and stretch across the image. I wasn’t worried about in this case that the trees would be symmetrical, as most of them would be covered by other images.

Creation of Pandora: Step 10

step 11 of 21

Turn off visibility of the other layers. With the Trees layer selected, go to the Channels tab, turn off RGB and only leave the Blue Channel visible and duplicate it. Go to Image > Adjustments > Curves and alter as shown. Ctrl + click on the duplicated Channel to create a selection around the trees. Return to RGB and delete the duplicated Channel. Delete the background, then create a new adjustment layer (levels) and then adjust the trees so they are black.

Creation of Pandora: Step 11

step 12 of 21

Create another Adjustment Layer (Solid Colour) and set colour to 0a0112, then link the layer to the others. Create another folder & name it Lower Trees, drop the Trees layer and Adjustment Layers into the folder. I decided afterwards to move the position of the trees slightly lower.

Creation of Pandora: Step 12

step 13 of 21

Now to add the other trees on left an right side of the image, follow the exact same steps as before and will come out like this.

Creation of Pandora: Step 13

step 14 of 21

Next I wanted to add a Moon for the Gas Giant. Create another new document sized 1200 x 1200 pixels at 300 pixels/inch. Paste in the Moon texture and follow same instructions as the Gas Giant, but leave out the clouds and Gaussian blur. Create a new folder & name it Moon, then drag folder into main document, rotate and resize accordingly.

Creation of Pandora: Step 14

step 15 of 21

So now to create the moons shadow, ctrl + click on one of the moon layers to select the circle, create a new layer and fill the circle in solid black. Using Free Transform, stretch out to oval shape & rotate. Move the shadow to give impression of height from Gas giant surface and reduce Opacity to 50%. Then go Filter > Blur > Gaussian blur.

Creation of Pandora: Step 15

step 16 of 21

Paste in the Tree Trunk image, flip Horizontal & resize. Then draw around with the Pen tool and Create Selection, go Select > Inverse and delete the background. Duplicate the layer, link an Adjustment Layer (solid colour) to the base of the two layers with the colour code of 0a0112. Lastly change the top layer to Hard Light.

Creation of Pandora: Step 16

step 17 of 21

Create a Layer Mask on the top layer, then using a black soft edged brush set to 50%, blend out some of the lower edges. This will help the lower part of the Tree Trunk to blend into the background without any harsh edges. As per usual, create a new Folder & name it Tree Trunk, drag these layers in.

Creation of Pandora: Step 17

step 18 of 21

Add leaf picture, flip horizontal and resize. Use pen tool to draw around leaf, create selection, invert and delete rest of background (and water droplet).

Creation of Pandora: Step 18

step 19 of 21

Add a Colour Balance Adjustment Layer and set the Mid-Tones to -75 (Cyan), -100 (Magenta) and +100 (Blue). Add another Adjustment Layer (Levels) and then set to:

Creation of Pandora: Step 19

step 20 of 21

Now using a soft brush with colour dc8efc, keep the brush size fairly small. Draw along the ‘spine’ & veins of the leaf. Once you have done this, duplicate the layers (I prefer to use different layers for each section), add a Gaussian blur to the lower layer and then set the top layer to Overlay. You may also want to alter the Opacity slightly

Creation of Pandora: Step 20

step 21 of 21

ADDITION: Due to the Gas Giant texture used in this SBS being deemed unsuitable. I have created this texture myself.

Creation of Pandora: Step 21

Final result

Creation of Pandora: Final Result

LOGIN or REGISTER FOR FREE
to rate this guide and create your own guides.