A Work in Progress: Deadman's Cafe Revisited


This guide was made for entry:
Deadman's Cafe Revisited
In Contest:
second chance


step 1 of 10

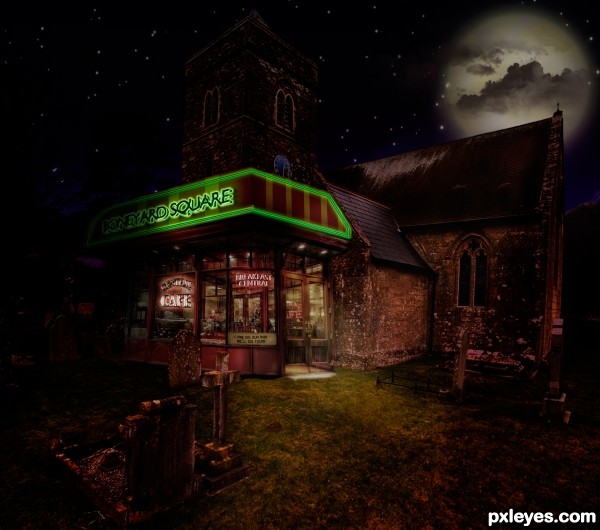
Starting with a gradient background make a new layer to create stars. Using a soft edge brush make presets to include scattering, spacing, and size jitter. Check to make sure it scatters to suit you, then fill 1/4 of your layer with them. Then transform by pulling out to have the stars fill the whole layer. If they appear to large at this point select and alter size by contracting selection by 1 to 2 pixels invert and hit delete. Your stars should be just the right size now to add your outer glow with a layer fx.

Creation of Deadman's Cafe Revisited: Step 1

step 2 of 10

Creation of Deadman's Cafe Revisited: Step 2

step 3 of 10

creating the moon is easy, making a feathered elipse selection on a new layer, hold down the alt or option key while rendering clouds making sure foreground and background are set at defaults. Set the blending of this layer at screen.

Creation of Deadman's Cafe Revisited: Step 3

step 4 of 10

Adjust curves and add the following layer fx with settings that work for your project. At this point you will mask out areas that are needed on both the star layer and the moon layer

Creation of Deadman's Cafe Revisited: Step 4

step 5 of 10

At this point I will tell you how I created a brush from one of my cloud pictures that I had used in one of my other entries. First I selected out a rectangle that I think has some pleasing cloud formations and copy that into its own canvas. At this point go to the channels panel and test out the different channels to see which one has the most definition between light and dark. In this case it was the red channel so I made a copy of that channel and adjusted levels until the clouds you wanted to use for the brush appear well defined. You will then take a soft black brush and paint out any areas that you don't want to show in your brush. Now click back on rgb and go back to the layer palet. On a new layer click on selections and go down to load selection and choose red channel from list offered. You will then fill that with black so you will have black clouds on your canvas. Select all and then define it as brush preset. Try it out and you should have some wonderful little clouds the color that you choose floating around.

Creation of Deadman's Cafe Revisited: Step 5

step 6 of 10

I used a pale gray color and painted on my clouds over the moon. I made a duplicate of that cloud layer and did a small motion blur to give it a softer look. Both layers set to screen adjust opacity until it looks pleasing to you. To add a bit more depth I experimented with layer fx and used some dodge and burn until I ended up with this.

Creation of Deadman's Cafe Revisited: Step 6

step 7 of 10

Turned cafe into 3d layer by using vanishing point filter. This way I could make the perspective a bit closer to the church.

Creation of Deadman's Cafe Revisited: Step 7

step 8 of 10

I refaced the sign area with the striped panels that I created then put the sign on creating the neon effect using layer fx.

Creation of Deadman's Cafe Revisited: Step 8

step 9 of 10

I then added a color balance adjustment layer and gave the cafe a tone closer to the church source so it appeared to be all one building. Adding overlays and shadowing at this point comes up with what you see.

Creation of Deadman's Cafe Revisited: Step 9

step 10 of 10

I then painted in some highlights and beams of light spilling out of the windows and a gentle moonbeam cascading over the church room, the final one posted is now much more subtle than the one you see below.
So now you can come "Dig our ribs so we can dig yours" Notice the sign on the window next to the doors.

Creation of Deadman's Cafe Revisited: Step 10

Final result

Creation of Deadman's Cafe Revisited: Final Result

LOGIN or REGISTER FOR FREE
to rate this guide and create your own guides.