
Original image
step 1 of 9
The first thing I did was make a path with the pen tool, and then create a selection using that path.

step 2 of 9
Then I added a gradient inside of that selection on a separate layer.

step 3 of 9
Then using the smudge tool a created the waves shape in the picture.

step 4 of 9
After the stock photo was brought into Photoshop, I copied the waves shape over to the picture. Then I duplicated the layer three times and changed the color of each shape with the Hue/Saturation palette.

step 5 of 9
Using the Free Transform tool and the Perspective Transform tool I positioned the shapes where I wanted. After in position I used a soft eraser tool to make the fingers more visible.

step 6 of 9
Then I applied a Cutout filter to each individual layer.

step 7 of 9
After merging all of the layers, I then applied a Poster Edges filter to the image.

step 8 of 9
Using the Color Range selection, I selected all of the prominent colors and then copy and pasted them to their own layers.

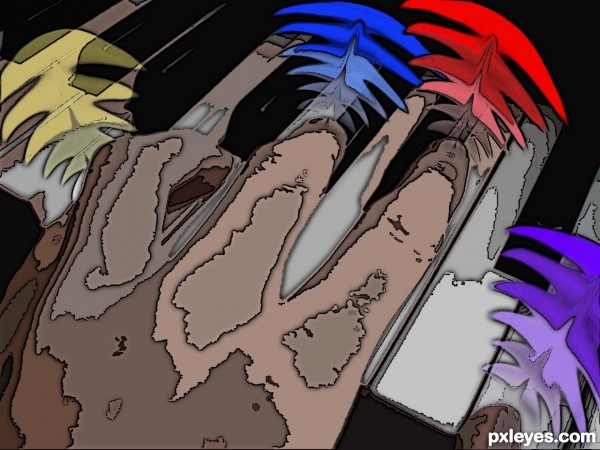
step 9 of 9
Then I went to the Blending Options of each layer and applied the same settings for each to give each layer more depth.
No outside sources were used.
No outside sources were used.

Final result
Pxleyes
Photography and photoshop contests
We are a community of people with
a passion for photography, graphics and art in general.
Every day new photoshop
and photography contests are posted to compete in. We also have one weekly drawing contest
and one weekly 3D contest!
Participation is 100% free!
Just
register and get
started!
Good luck!
Follow us:


© 2015 Pxleyes.com. All rights reserved.