


Create a Dramatic Urban Raining Composition
Urban scenes can be used to create dramatic works of digital art. The grunge feel of graffiti, concrete and the darker textures can result in great environments for a design or artwork. Perhaps typified by movies like Sin City, the grayscales of urban environments, particularly when combined with rain, are captivating.
In this tutorial, you’ll learn how to take some stock photos and create a dramatic urban environment, complete with rain, and then build a design composition around it using some 3D elements. You’ll learn how to create a nice raining effect, and how to use urban styles to enhance your work.
If you have any questions, let us know in the comments. We’re always accepting suggestions as well!
Tools used:
- Adobe Photoshop
- Photo stocks
- 3D render stocks
Final Image Preview:

Step 1: Document creation and background setup
To start off we need to create a new document. I would suggest a 2000x3000px document but if you cannot work at a size that large then just work at a size that works good for you.
Now we need to get our background stock. We will be trying to create some sort of urban decay type scene so any road shots, store fronts, or city shots will work. My background stock looks like the below screen shot and you can get it at ShutterStock.com

Once you have your background stock we need to drop them into our document and begin editing them. Your editing will depend on your stock back ground, mine consisted of clone stamping out a few sections to clean up some areas and then clone stamped it to fit the my target document. It looks like the below screen shot now.

Now we need to grey scale the image and adjust the levels. To do this we need to press ‘CTRL+SHIFT+L’ and then ‘CTRL+SHIFT+U’ on your keyboard. My image now looks like the below screen shot.

Once that is done we will create a new layer and set the blending mode to overlay. Once you have done that we need to grab some splatter/brush stroke brushes and throw them around. The point here is to darken the image whilst applying texture. If you don’t have any brushes you can read my tutorial here on creative fan, use a texture or find some brushes on the net.
Just splat them around in black and then switch to white around any lights if your background image has any. My image now looks like the below screen shot.

If your image is not as dark at the bottom as you would like you can repeat this step on another layer as many times as necessary. I had to create an additional layer to create the effect that the background is fading to black.
Step 2: Rain creation
Now we need to create a new layer and fill it with black. Once that is done we need to apply a noise filter. So go to your filter drop down and select Menu > Filter > Noise > add noise and then set yours up as mine is in the below screen shot.

Your layer should appear as mine does now in the below screen shot.

Now we need to create a motion blur. To apply this filter we can go to our filter drop down menu and select Menu > Filter > Blur > motion blur. Once you have done this set yours up as mine is in the below screen shot.

Your layer should now look something like the below screen shot now.

Next we need to apply a manual level adjustment; to do this press CTRL+L on your keyboard and set your level editor up as mine is in the below screen shot.

Your layer should now look something like the below screen shot.

Now we need to apply a layer mask. Once that is done go to your filter drop down and select Menu > Filter > Render > Difference clouds. Once you have applied this filter apply it again around 2/3 times and then set the blending mode to screen. My image now looks like the below screen shot.

Now duplicate the layer, on the new layers mask apply the filter one last time and reduce the opacity to around 50%.

Step 3: Figure implementation.
Now you need to find a stock image. The stock image I chose was a very popular stock that you can find on shutterstock.com. It looks like the below screen shot.

Once you have isolated out your figure you can drop them into your document under your rain layers. Now we can grey scale our figure by pressing CTRL+SHIFT+U. Once that has been done you need to fade the grey scale, to fade the grey scale press CTRL+SHIFT+F on your keyboard. Fade the grey scale by about 55% and press ok. My image now looks like the below screen shot.

Next you need to do the same effect with the splatter brushes on the figure. When you do this be certain that you don’t get any of the brushes off the figure, keep them only on the figure. My image now looks like the below screen shot.

Step 3 part 2: Rain drop creation.
Now we need to grab a standard three Px brush like the below screen shot.

Now we need to create a new layer and start drawing small circle shapes bouncing off the figure. Try and space the circles out as much as possible and keep their opacities random as well as their size.

Continue drawing the circles as well as drawing some water streaks on your figure as if the water is sliding down him or her. Its best to stay focused on one significant area and then move to the next area.

Now once you finish with the first area you can move into the next area. I started moving downward towards the arms/hands.


Next once you have added a lot of circles (rain drops) you can start adding some hashed lines as if the splashes are moving so fast that they are blurred.


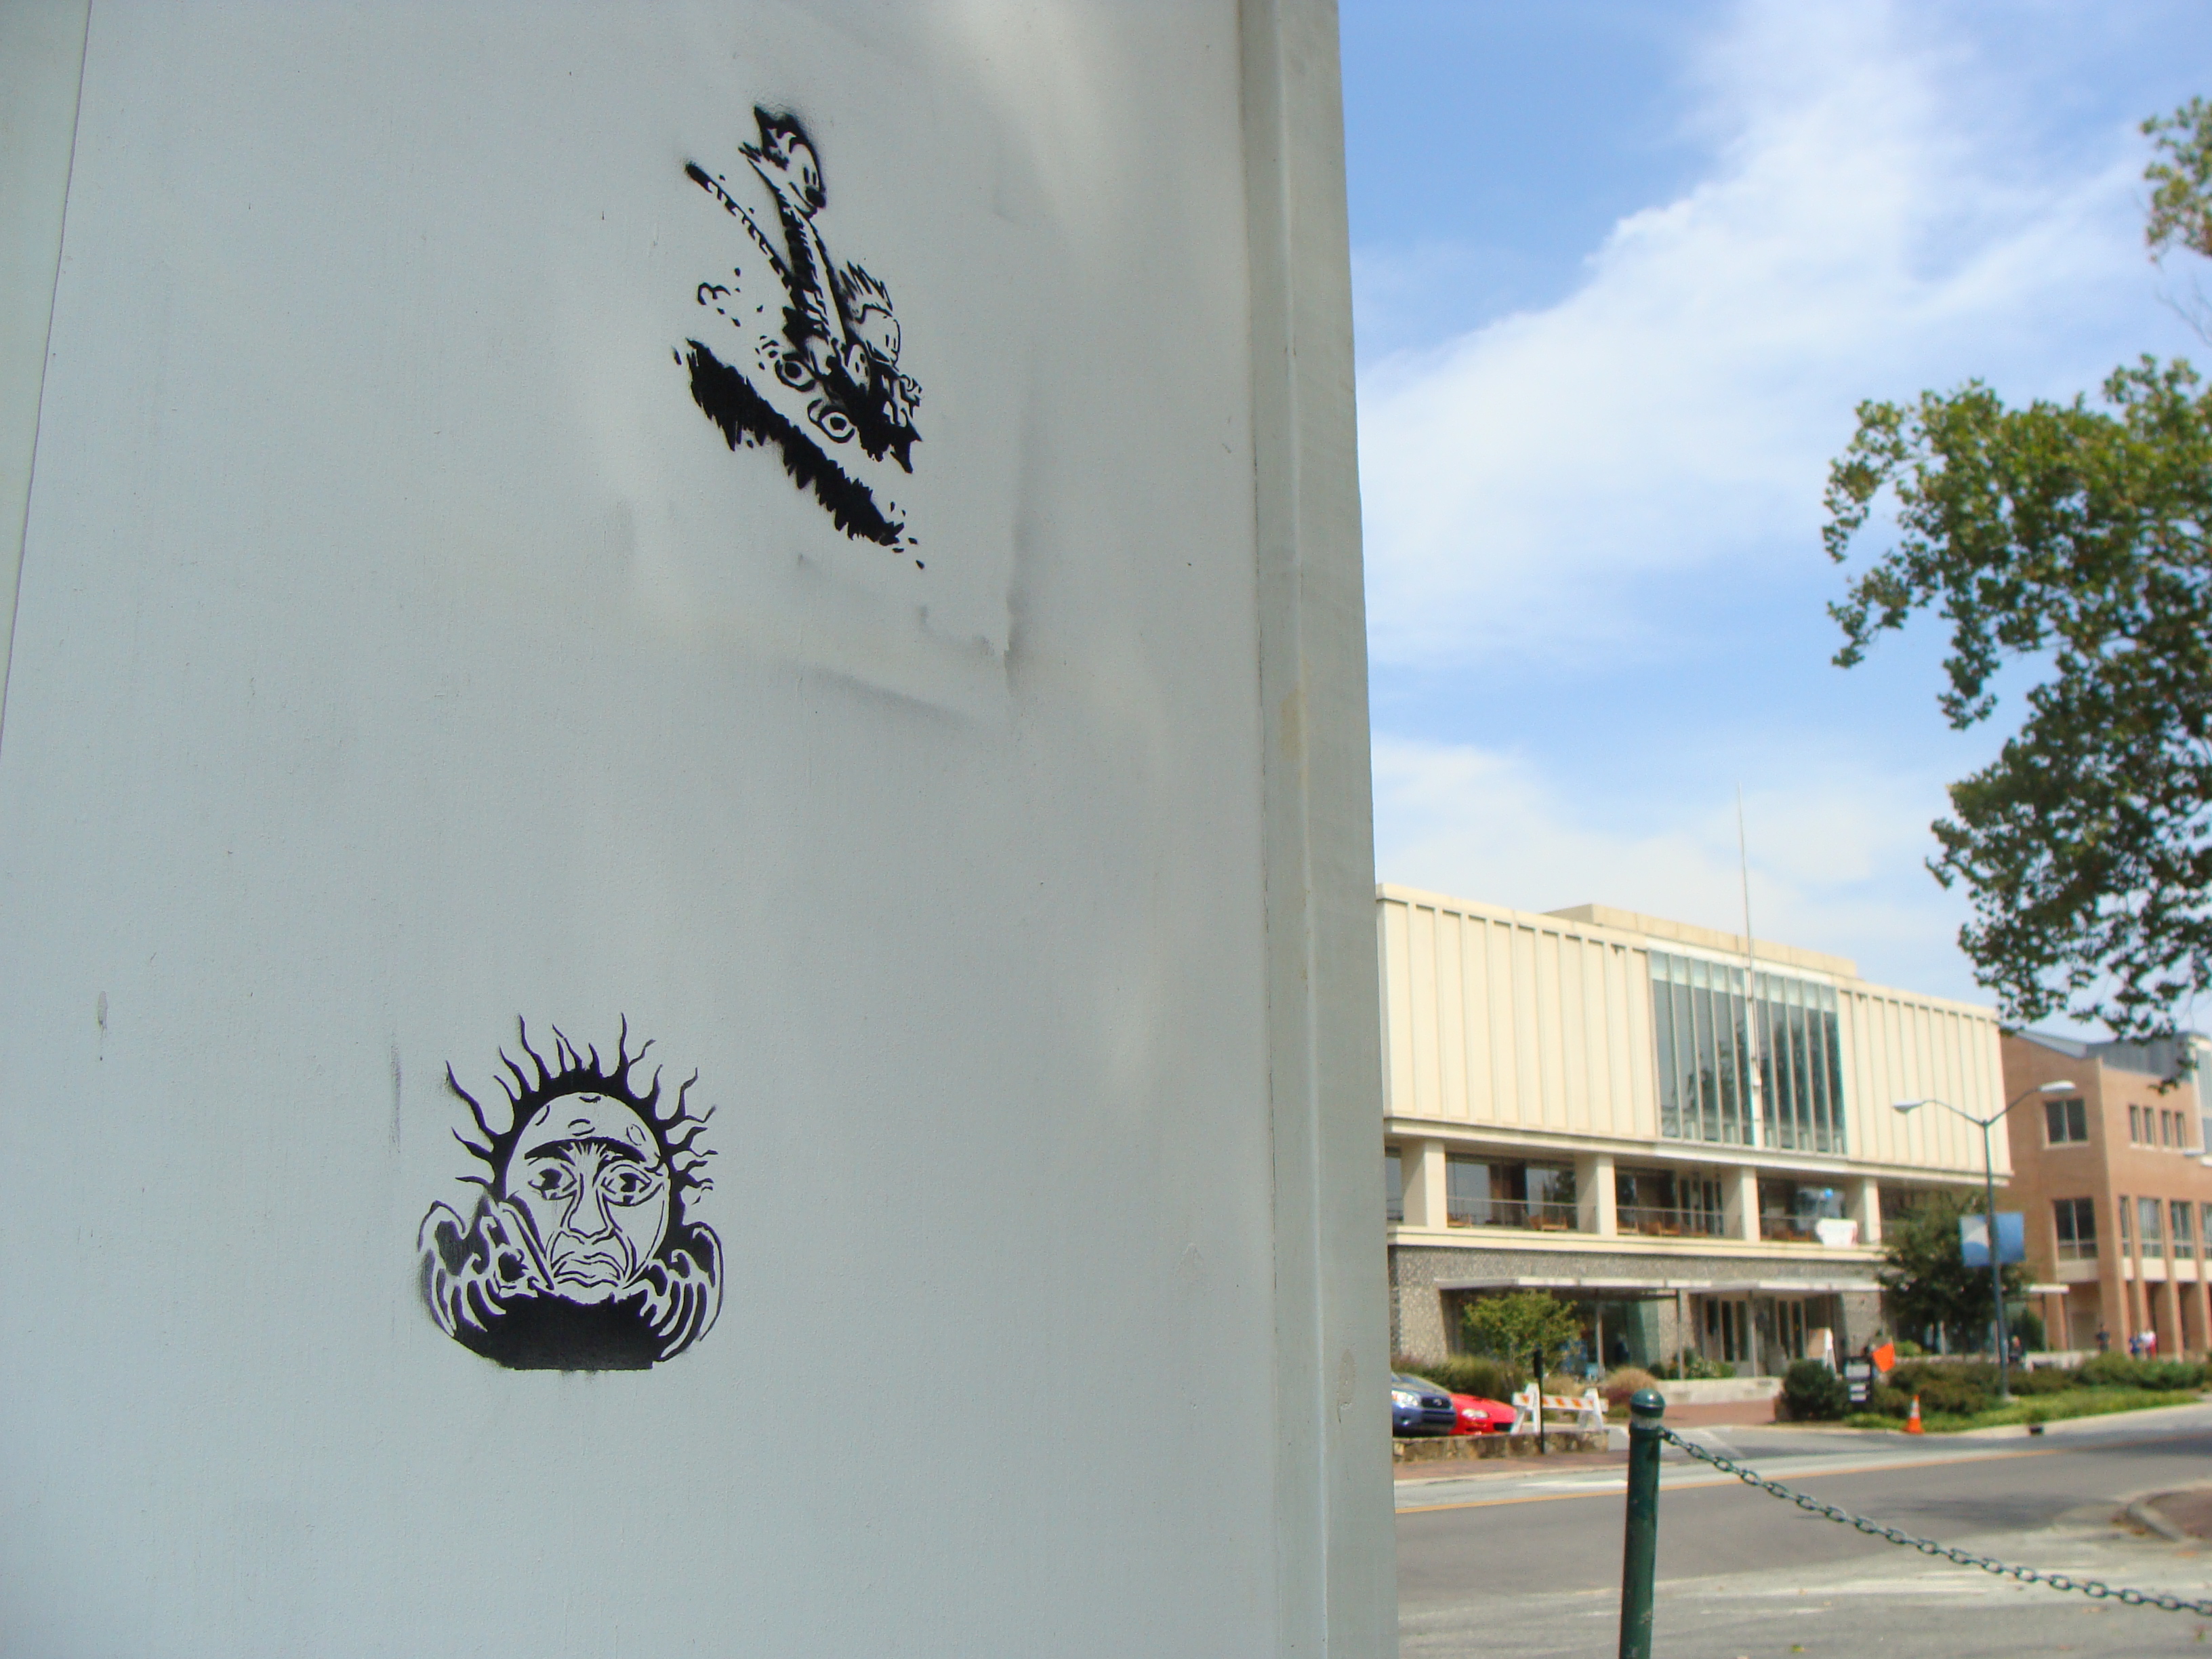
Step 4: Graffiti implementation
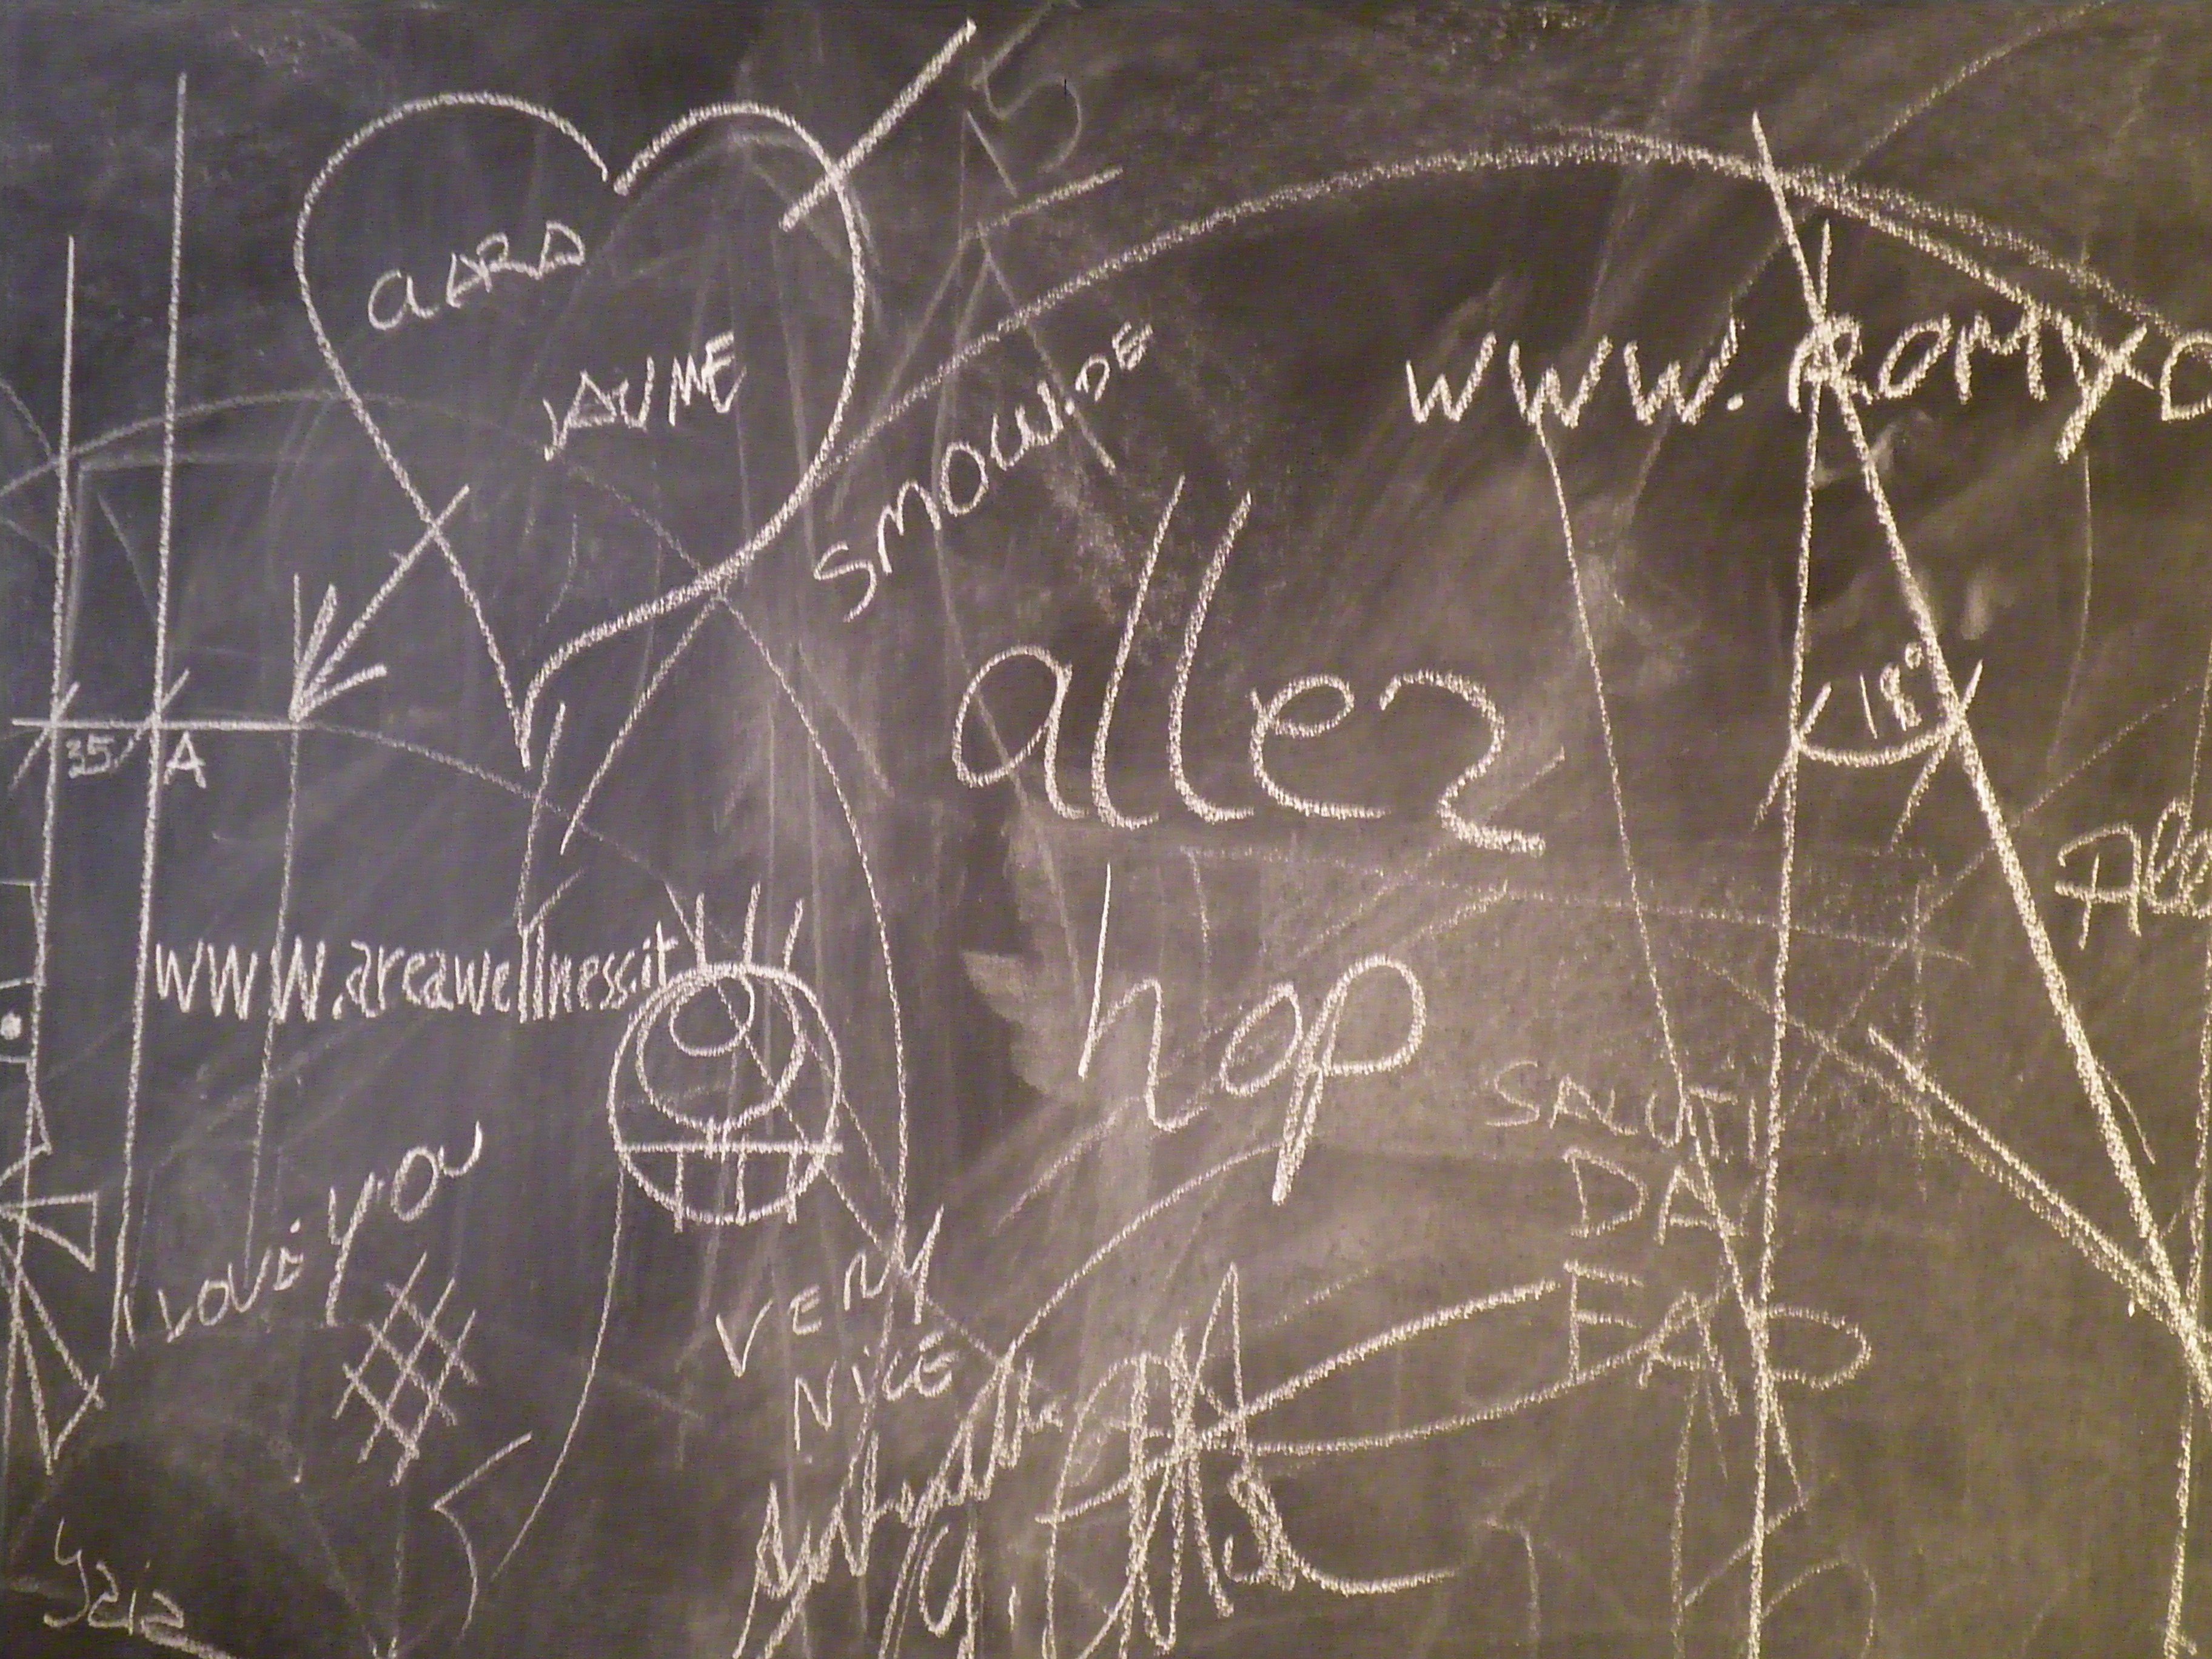
Now we can add in some graffiti stocks in to help produce more of the urban decay effect. To start off we can grab a stock from CG textures:

Once you have dropped the stock in you will need to grey scale it as we did with the other stocks. Next we need to adjust the levels as we did before. Set your levels up as mine is in the below screen shot.

The image should now look like the below screen shot.

Once you have done this set the layer up as multiply layer and just place it where you like.

I duplicated mine, inverted it, set the blending mode up as screen and placed it a second time.

Now you just need to repeat this process a few times until your image has the right ‘feel’ to it. Below is a list of stocks that I used to create the effect on my image as well as a few screen shots to show you how the process went about.


Stocks:
- Graffiti stock
- Graffiti8
- Capitalism graffiti luebeck
- Graffiti 4
- Graffiti 5
- Graffiti 6
- Graffiti 3
- Dixon graffiti
- graffiti-1.jpg
- graffiti elevator
If you’re having trouble it’s easier to use a single stock multiple times as we did with the SICK stock. Keep in mind that you can use it as a multiply layer or a screen layer and that size can be varied multiple times to help vary the stocks up.
Step 5: Render implementation and closing
Now we need some renders to place behind the stock image. I used a few of my own as well as some from Angelius Hellions pack.

Render packs:
Just drop them in, grey scale them and place them behind the render as I have done here. If you like you can apply a few colors but I chose not to. You can also apply the splash effects as we did with the figure if you would like.


Well that’s all; all you need to do now is size it down and sharpen it. I hope you enjoyed reading my tutorial and you came out with a nice looking image. My image looks like the below screen shot. If you have any questions regarding my images creation please don’t hesitate to ask!


